Throughout ADVOCATE there are customized reports formatted for printing in AVSTUDENTS, AVAPPS, AVCOLLEGES and the individual test files. These are all accessed from the Reports screen in each of the files.
To Run Any Report
- Navigate to the specific file where the report resides.
- Find the set of records for which you wish to run a report.
- Click the Reports button in the Task Bar.
Note: In most instances, when you click the individual report button, ADVOCATE will automatically perform a sort to arrange the found set of records in some order that is appropriate to the report. In some cases, an automated sort is not part of the report and you may perform your own sort using FileMaker Pro’s Sort. Sort the records prior to selecting the report.
- Ensure that your computer is configured to print to a printer.
- Select the desired report by clicking the icon next to the report.
- Depending upon which platform you are using and your operating system, a print dialogue box will appear. Make your choices and continue.
- Select Print from the FileMaker Pro File menu at the top of your screen.
- Click Continue once your reports have been sent to the printer.
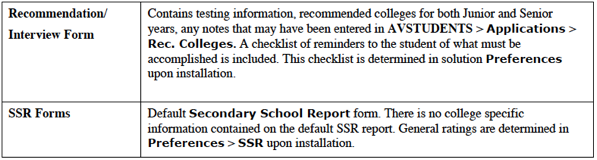
Student Reports
The following reports are available in the AVSTUDENTS file.
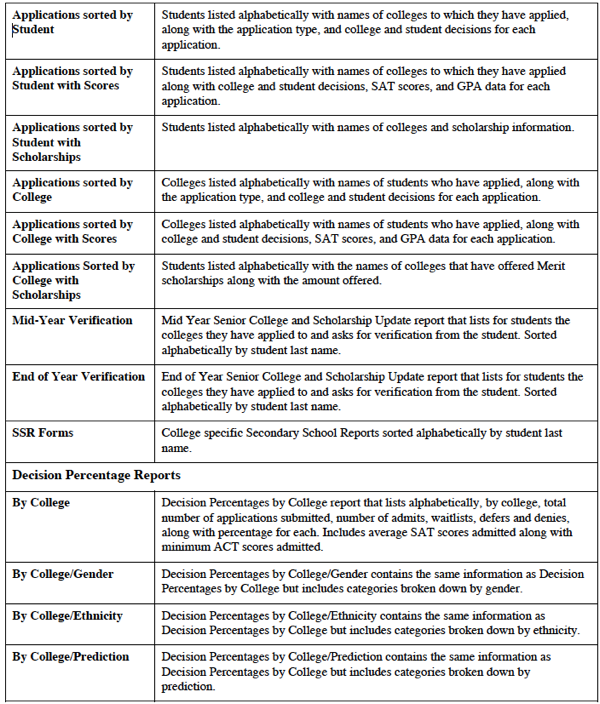
College Application Reports, Forms and Labels
The following reports are available in the AVAPPS file.
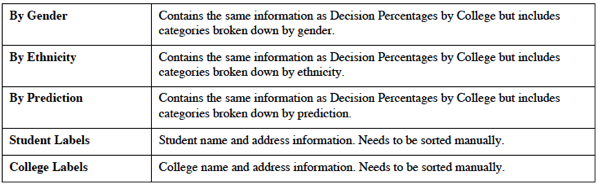
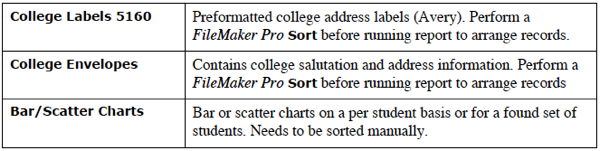
College Reports and Labels
The following are available in the AVCOLLEGES file.
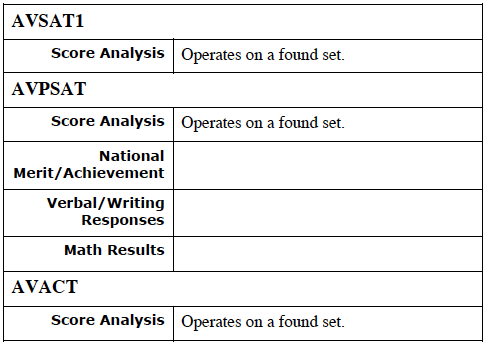
Test Data Reports
The following reports are available in the various test files.