Email can be sent to groups of students and their parents as well as college contacts. Email messages that are sent using Email have the same heading and body for everyone in the found set, but contain unique salutations for each person.
Email Requirements
In order to work properly, Email has a few requirements. Student and college contact names and email addresses must be entered into the database. If you intend to send email to parents, their email addresses must also exist in the database.
Using Email requires the FileMaker Pro plug-in SMTPit. SMTPit must be installed correctly in your FileMaker extensions folder. An error message will let you know if you do not have this plug-in installed and properly configured. Please refer to ADVOCATE Administration for information on SMTPit. Follow the directions that came with the plug-in to install it correctly.
Sending Email to Students and Parents
- Navigate Home > View/Edit Student records > Profile.
- Find the student(s) to whom you wish to send an email.
- Select the Email icon from the Task Bar.
A Student Emailer dialogue box will appear.
- Select from the list of Whom to Email by placing a check in the checkbox email addresses you wish to include in the email. More than one checkbox may be selected.
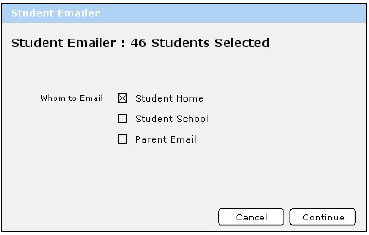
- Click Continue.
The Emailer dialogue box will appear.
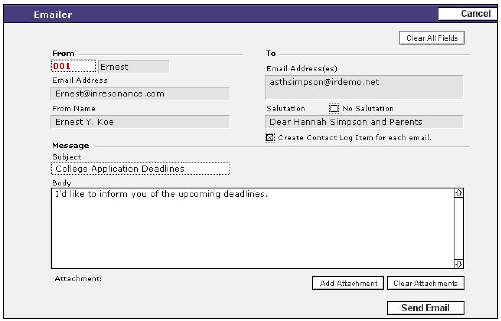
- Select the counselor or staff member’s name who is sending the email in the From field.
His or her email address will automatically appear in the Email Address field, provided it is entered in the AVCOUNSELORS file.
- If you do not want a personalized salutation to be included with the email, place a check in the No Salutation checkbox. This is globally applied for all records in the found set.
- Enter a subject in the Subject field and type the body of the email in the Body field.
Note: Text can be copied and pasted from another document into Email. Remember, the subject and body will be the same for every email message sent to the found set.
- If you would like to create a contact log item for all the individuals to whom you are sending the email, click the Create Contact Log Item for each email checkbox. This is applied globally to all records in the found set.
- To add a file attachment, click the Add Attachment button.
- Navigate to the file you wish to send with the email and select it.
- Click the Send Email button located at the bottom of the screen.
A list will appear displaying the names of everyone in the found set to whom you selected to send the email. You are able to omit anyone from the list by clicking on the Omit button located beside his or her name.
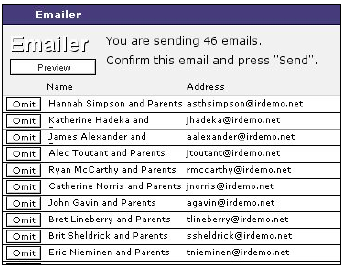
- Select Preview if you’d like to preview the email.
- Press Send when you are ready to send the email.
- A confirmation dialogue box appears asking if you want to send the email to the number of records in the found set. Click Continue.
Sending Email to College Contacts
- Navigate to Home > View/Edit College Contacts > Overview.
- Find the contact or contacts for which you wish to email.
- Click the Email icon in the Task Bar.
- Follow the directions above for emailing college contacts.