Solution preferences are configured upon installation. These include the institution name and address, current academic and admission season, tuition rates, and other information. Some preferences need to be set only once, others are changed at the beginning of each new admission season.
Changing preferences will change information on existing reports and caution must be taken. Below is a list of solution preferences that will need to be changed at the beginning of a new admission season.
General Preferences
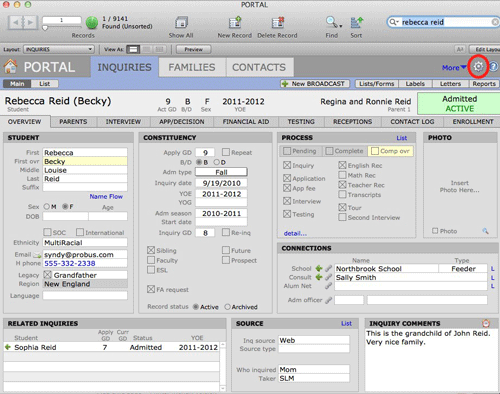
- From the PORTAL navigation window, click the gear icon to open Preferences.
- Click on the Capacities tab.

- Enter the Grade—include all grades at the school.
- Enter the Grade Target Enrolling— enrolling capacity for each grade.
- Enter the Reenrolling Capacity—for each grade.
- Enter the Opening Enrolled—for each grade.
- The Go to Enrollment—will navigate to the Enrollment screen in INQUIRIES.
- Click the Done button, or click another tab.
Yearly Preferences
- From the PORTAL navigation window, click the gear icon to open Preferences.
- Click on the General tab.
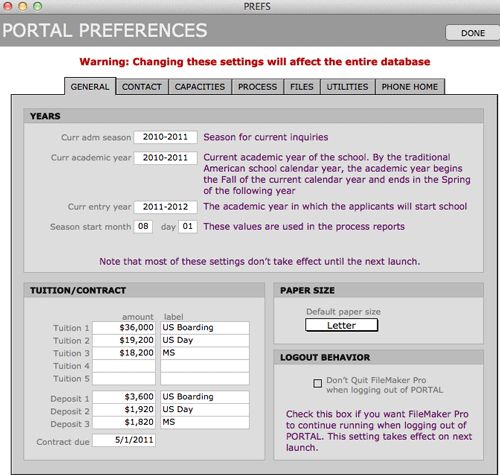
- Change the Curr Adm Season—the admission season for current inquiries.
- Change the Curr Academic Year—the current academic year of the school.
- Change the Curr Entry Year—the academic year in which the applicants will start school.
- Change Tuition 1, Tuition 2, Tuition 3—the yearly tuition rate and a label if necessary.
- Click the Done button, or click another tab.