Once a Payment has been entered and saved, the transaction is locked and cannot be deleted.
NOTE: Use the Reverse Payment procedure only if there are errors in the way the payment was entered. If a check bounces, do not reverse the payment; see the article for how to enter a Bounced Check.
A payment entered with errors can be Reversed.
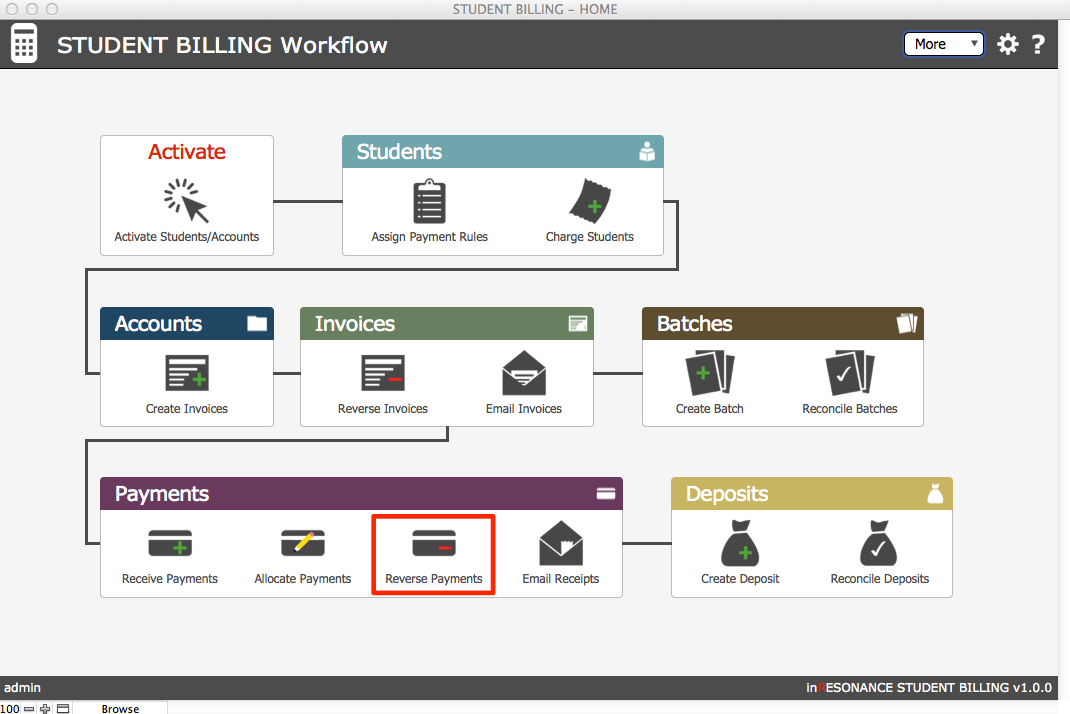
- On the Student Billing Workflow screen, click Reverse Payments.
- This takes you to the Payments domain. Perform a find for the payment you wish to reverse. Navigate to List view; each payment has its own, separate transaction record, so it will be easiest to review the found set in List view to identify the payment to reverse.
- Click on the Main detail card icon of the payment you wish to reverse.
![]()
- From the Student Billing Workflow screen click on Invoices.
- Find the Invoice/s that was paid by the Payment you are about to reverse. Leave that window off to the side.
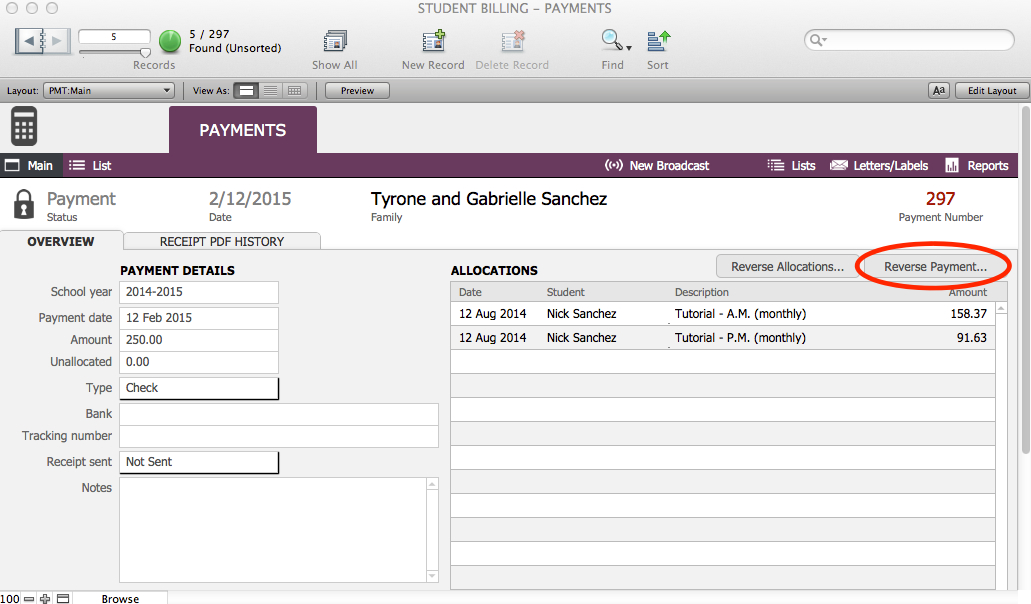
- In the Main view of the payment transaction, review the payment to be certain it is the correct record. Click Reverse Payment…
- A dialog will open, where you can enter the Reverse Date and also assign a GL Code (if different from original) and/or a Payment Type (if different from original).
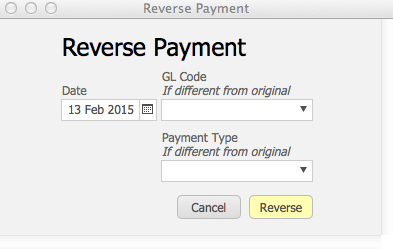
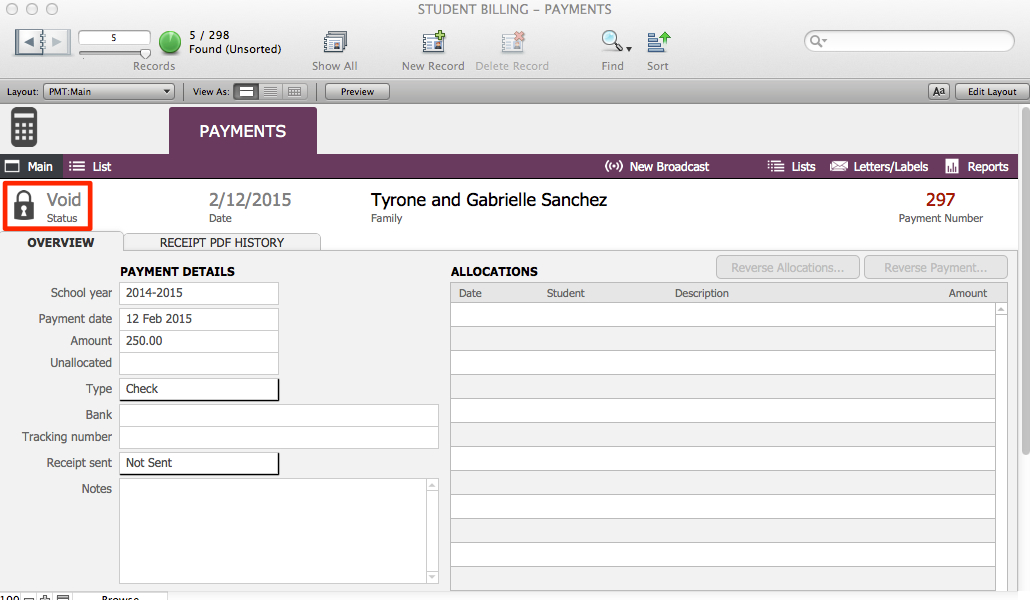
- Click Reverse. The payment record status will change to Void, and the transaction will be locked.
- Go to Invoices window that is off to the side.
- Find the Invoice/s that the Payment was allocated to before you Reversed the Payment.
- Identify the Invoice/s that was affected by the payment. Isolate it (constrain on the Invoice number from the List view.)
- Click the Generate Invoice PDF button.
- Click the Go to related Accounts in BillPay and Publish button.