Each school will have different policies as to when students should be added as constituents in GENERATIONS, but Families will be added as soon as their student is enrolled in the school. Students may not be entered until they are graduated.
If your school has PORTAL, importing families and students is easy with PT/GN SYNC.
Creating New Constituent Files in GENERATIONS Using Sync
- Open ptgnSYNC file from your FileMaker directory.
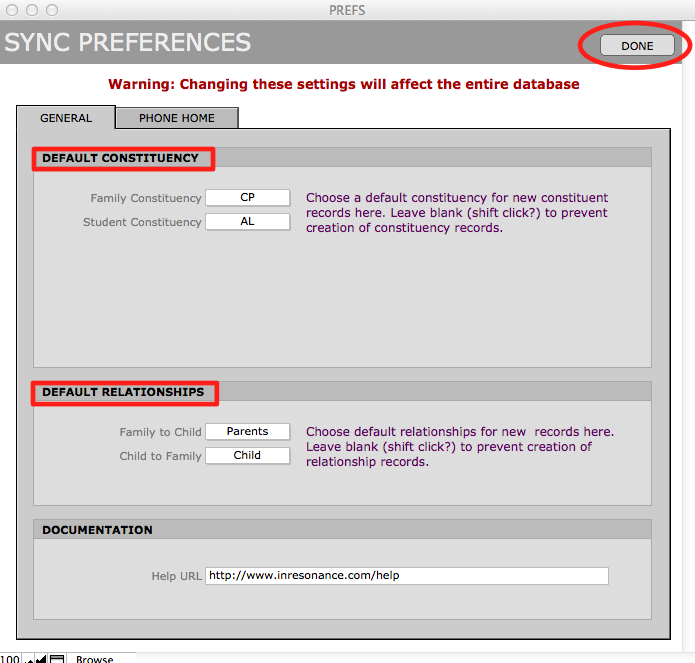
- Enter the Preferences file by clicking on the gear icon.
![]()
- Check the Default Constituency and the Default Relationships settings. The Sync file will automatically create relationships when you import new parents. Then click Done.
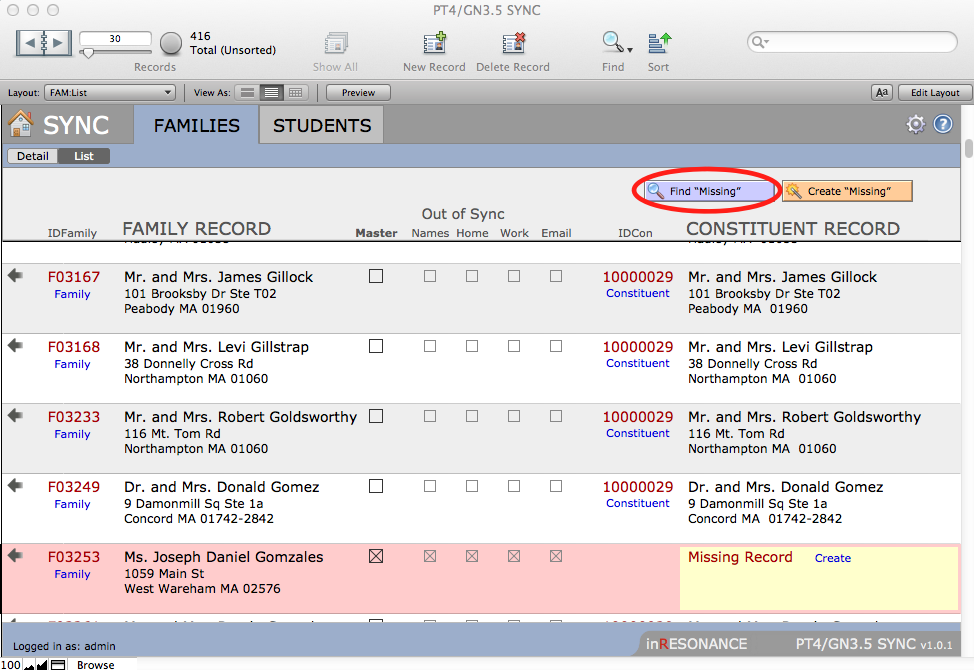
- You will be returned to the Detail view. Switch to List view. Records that do not yet appear in GENERATIONS will be highlighted as Missing. Click on the Find “Missing” button to see filter the list to see just those that are missing files in GENERATIONS.
- Create records for the Missing families by clicking on the button “Create “Missing”.
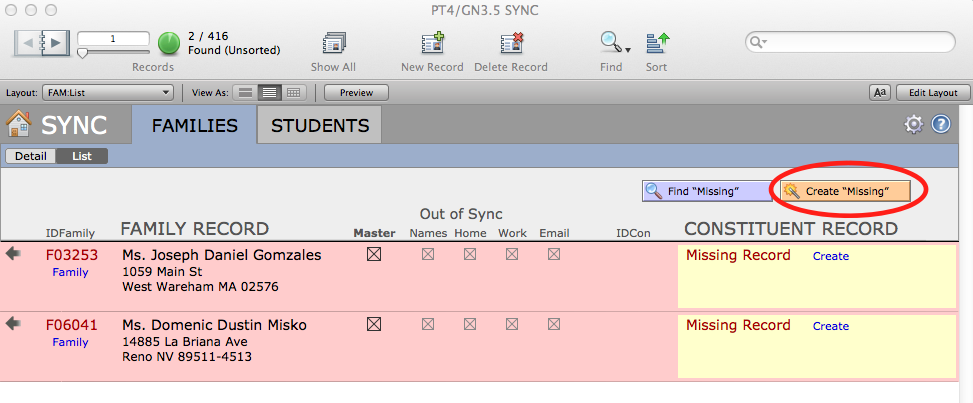
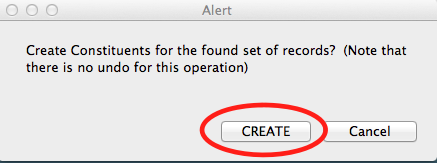
- A dialog box will pop up asking you to confirm that you want to create constituent files in GENERATIONS for these missing families. To proceed, click CREATE. There are now constituent records in GENERATIONS for the new families.
- When you bring students in, you may want to keep them in sync with their families until such time as they move and have their own mailing addresses. At this time, you will track them as individuals, and their records will not be sync’ed. When you delete a record in the Sync file, it does not delete the student record, nor does it delete the constituent record. It deletes only the sync record. You can delete a record by using the Delete Record button in the status area, or from Records menu > Delete Record.
Synchronizing Data Differences between PORTAL and GENERATIONS Using Sync
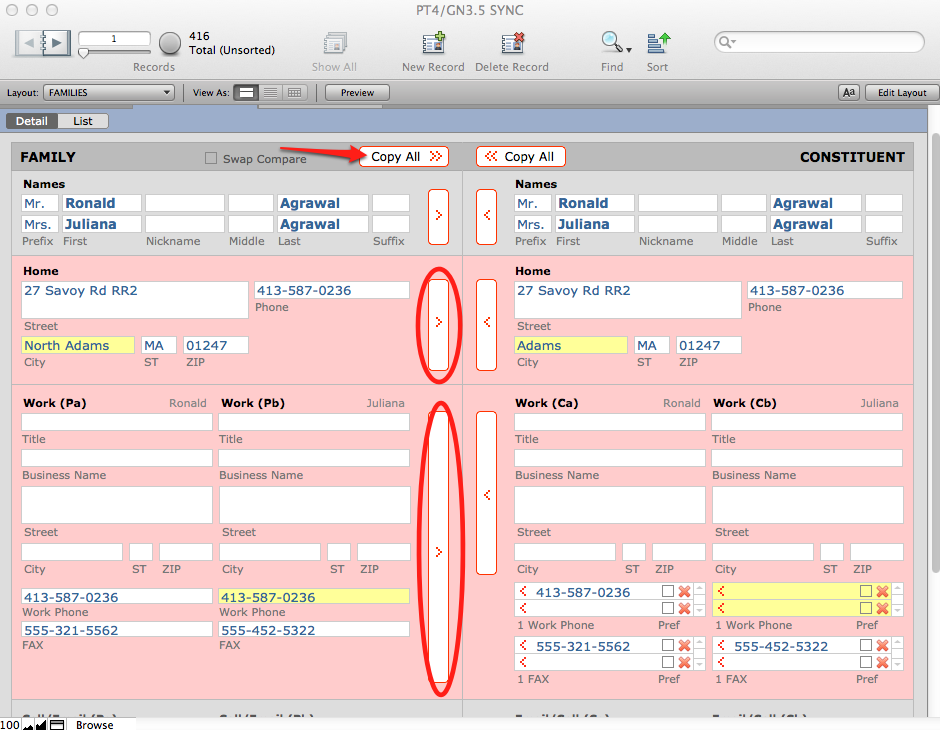
When you sync files between PORTAL and GENERATIONS, you may find when you look at the two files side-by-side, some data is different. Sync allows you to see both files side-by-side and overwrite old data with new data in either direction.
Notice that there are checkboxes in the List view of the Sync file that show you what kind of data is out of sync. You can do a Find in the Sync file on any of these checkboxes.
The data that differes from one record to the other is highlighted. Data can be copied in either direction, depending upon which data you deem most accurate.