In HEALTH 2, you can upload documents, such as PDFs or image files, to a patient’s record.
Adding a document to a patient record
- From the Home screen, Patients tab, click Browse Patients.

- Perform a find for the patient for whom you wish to add a document.
- Within the patient record, navigate to the Docs tab.

- Click the New File button at the top right of the tab. This opens the Add Document window for a new document, where you can enter details:

- Under Document Attributes, on the left, enter a descriptive name in the Title field.
- On the right side, navigate to the document you would like to add:
- Click the Browse button in the lower right corner of the screen.
- Navigate to your file and select the file.
- Click Insert. The remaining attributes on the left will autofill.
- Click Done.
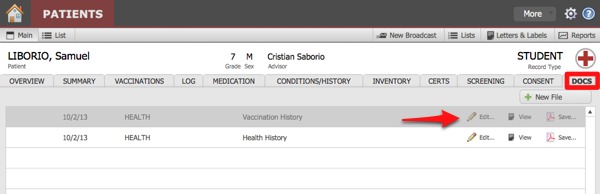
Now you will see the file you added in the list on the Docs tab within the patient record. Three new options appear at the right end of the record row:
- Edit will open the document record inside iR Documents. Note that iR Documents is a separate file, and it has its own set of documentation.
- View will open the file.
- Save allows you to save the file in another location for the purpose of sharing with a colleague.
- Delete removes the record.
Deleting a document from a patient record
- From the Docs tab in a patient record, select the document you wish to delete.

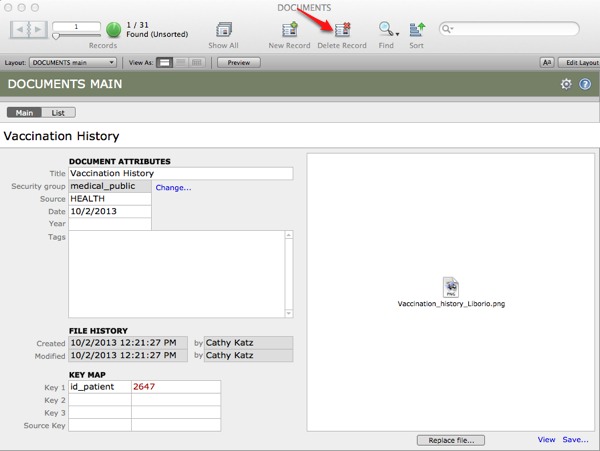
- Click Edit (right end of the record row). This will navigate you to the document record inside the document repository, iRDocuments.
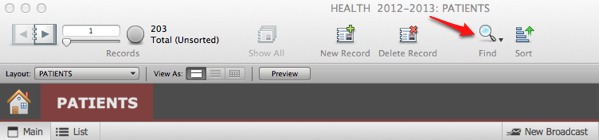
- From the FileMaker status area across the top of the window, select Delete Record. A dialog box will ask you to confirm your action.
- Close iRDocuments by clicking on the red button at the top left of the window.
