HEALTH Preferences is the file where basic settings for the HEALTH module are configured. These are generally set by the implementor; most do not change after implementation.
To open Preferences in HEALTH:
- Click the gear icon in the upper right corner of the screen.

General
Current Academic Year
In the General tab you may set the Current Academic Year and the First Month of the Academic Year. This determines whether patients appear as Current Patients (current students and faculty/staff brought into HEALTH during a sync) as opposed to All Patients (anyone with a patient record, no matter which Academic Year). The Current Academic Year also affects the three-year comparison reports.
ChangeLog
iRChangeLog is the new audit trail module that tracks data changes to individual fields and specific tables inside of HEALTH 2. In Preferences you may choose to turn iRChangeLog on or off.
Consent
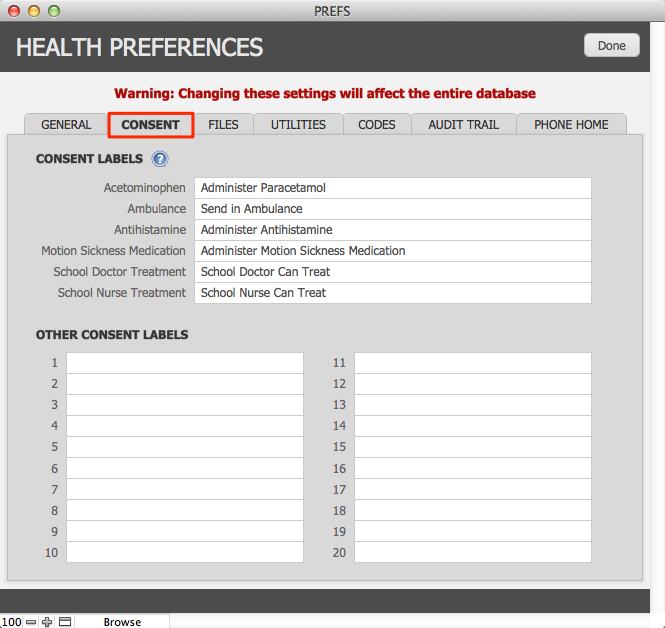
In the Consent tab you can change the labels that appear on the Consent tab in Patients. If you are going to change a consent label make sure the semantic meaning is not changed.
Files
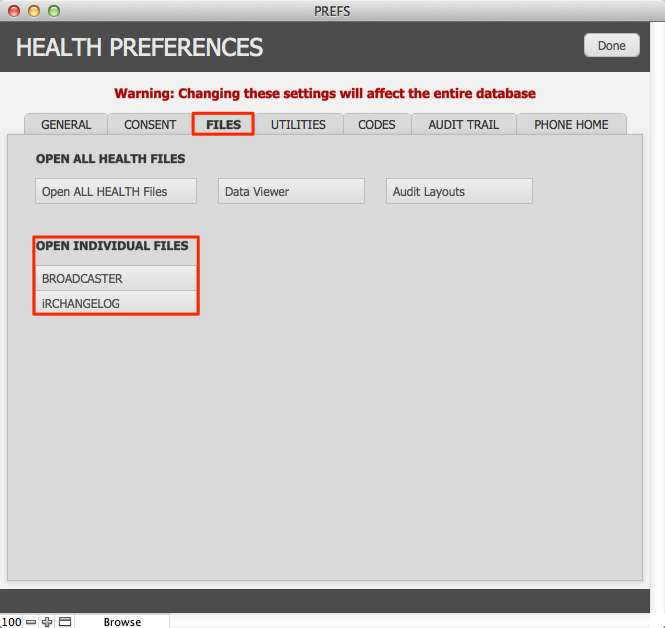
On the Files tab there are two buttons which you should note:
- BROADCASTER
- iRChangeLog
BROADCASTER
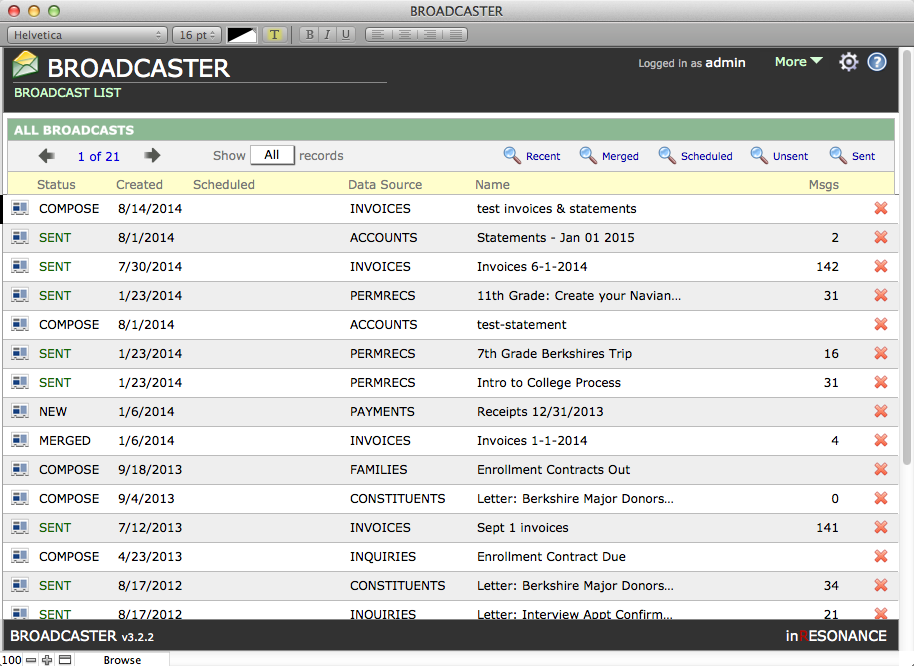
The BROADCASTER button will open the BROADCASTER module. Note that entering BROADCASTER this way will not launch a new broadcast for a found set. Entering this way will allow you to revisit any unsent broadcast in the list of broadcasts, and you can open templates here. For more information on using BROADCASTER click here.
iRChangeLog

The iRChangeLog button will open the audit trail module. If you have turned the ChangeLog on then this is where you will be able to view the changes that have been made to individual fields.
Utilities
The Utilities tab is where you will manage accounts and privilege sets for users of HEALTH 2.
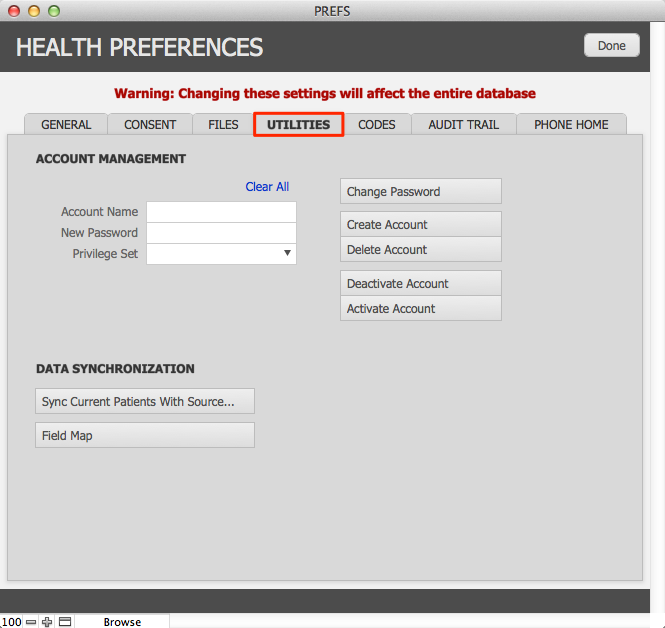
- Enter Account Name and click the appropriate button. If additional information is required, a dialog will pop up and guide you.
- Activate Account – restore access for an account that has been deactivated
- Deactivate Account – access will be denied but account will still exist
- Delete Account
- Add Account
- Change Password
- Privilege Set – Select from the drop-down menu the appropriate privilege set for this account.
Codes
HEALTH 2 has value lists in drop-down menus that make it easy to select when adding Vaccinations, Certifications or Log items. Codes will be set up during implementation. You can add to these value lists, but exercise caution when editing an existing code, as these codes may already be assigned to some patient records.
NOTE: While it may be helpful to add a value, you should not remove values. Removing a code may compromise the functionality of HEALTH.
Adding Codes to HEALTH 2
- Click the Codes tab.
- Click to select the appropriate subtab:
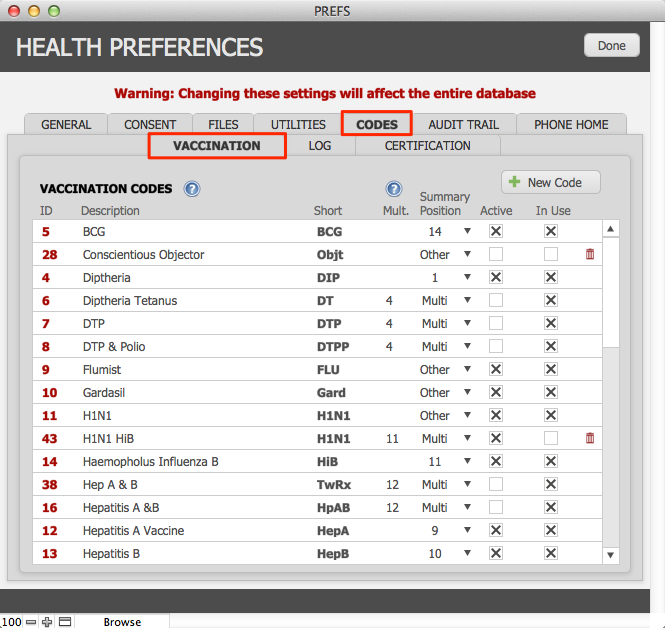
Vaccination Codes
NOTE: Adding a vaccination code is the most complicated of the three; best practices are to leave vaccination codes as they are. If you wish to add or change a vaccination code, please contact [email protected].
Log Codes
HEALTH will have a range of codes to describe the kinds of incidents tracked by the Health Center Log. In the Log Codes Setup you can:
- Add a log code
- Edit a log code
- Delete a log code (only if a code is not in use in a current log item)
To add a new log code:
- In Code Setup, with the Log tab selected, click New Code in the upper right corner of the tab.

A dialog window will pop up. Enter the Name of the new log code. Click OK.

- Your new log code will appear in the Log Codes list, in alphabetical order. Scroll to locate your new log code.
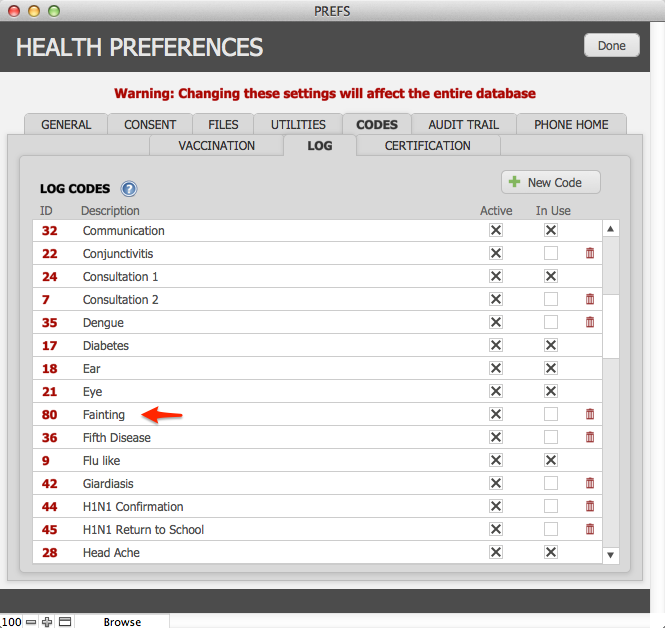
- Your new log code will have an ID number automatically assigned; this number is not editable.

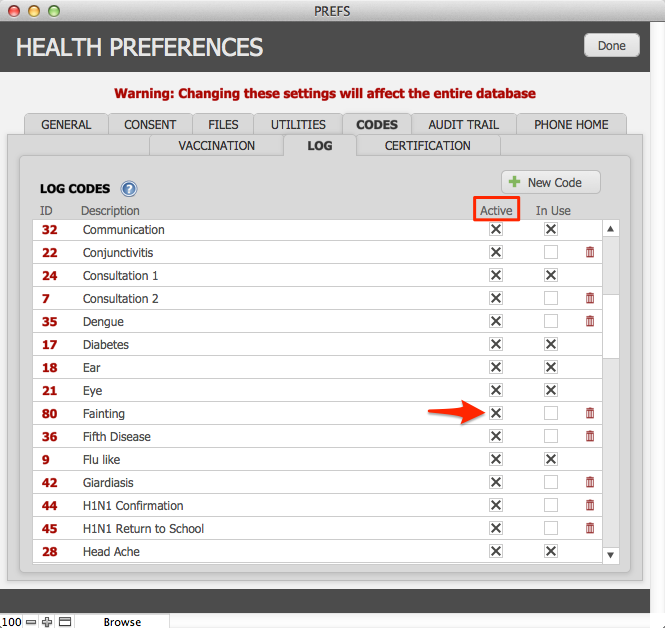
- Notice that the In Value List checkbox has been checked. Uncheck this if you do not want your new log code to display in the drop-down value list when creating a new log record.
Certification Codes
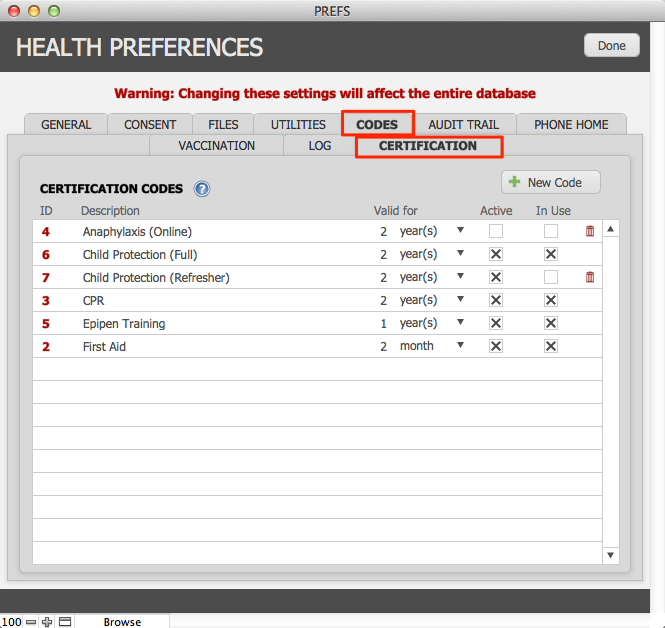
- In Code Setup, with the Certification tab selected, click New Code in the upper right corner of the tab.
- A dialog window will pop up. Enter the Name of the new certification code and a Valid for number and unit (day/month/year/s). Click Commit.
- Your new certification code will appear in the Certification Codes list, in order created. Locate your new certification code at the bottom of the list.
- Your new certification code will have an ID number automatically assigned; this number is not editable.
- Set the Valid for field with the length of time for which the certification is valid.
- When the Active checkbox is checked, the new certification code will display in the drop-down value list when creating a new certification record.
- The In Use checkbox will be checked when a Patient has been assigned the certification code.
- Current Patient Count will display the number of current patients who are assigned this code.
- Click Done.
Editing Existing Codes
- Navigate to the existing code you wish to edit.
- Click into the code record line and edit.
Phone Home

We recommend that you not change settings on the Phone Home tab. The Phone Home routine will automatically send the information found on this tab to inRESONANCE every time HEALTH is opened. This allows inRESONANCE to contact you if there are critical updates that HEALTH might require.


