iRChangeLog is the new audit trail module that tracks data changes to individual fields and specific tables inside of PORTAL 4.3 and above.
You can track new inquiries, changes to email addresses, edited contact information, and new process status items received for an application. You can also track who is making what changes within your solution.
An Admin user will have access to the solution controls, while all other users should have viewing privileges.
There are four steps to set up iRChangeLog:
- Configure Fields to Track.
- Set Audit Trail to On.
- Initialize iRChangeLog.
- Configure ChangeLog Handler script to run nightly.
Configure Fields to be Tracked
iRChangeLog can be used to track text, date, number, time field and timestamp field types; however it cannot be used to track container fields—for example, photos.
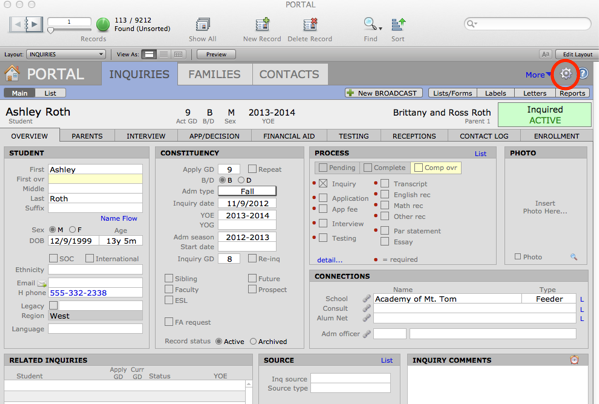
- Navigate to PORTAL Preferences by clicking the gear icon in the upper right toolbar area.
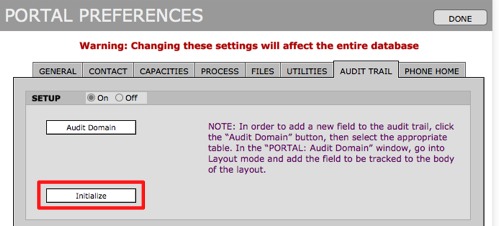
- In PORTAL Preferences, select the (new in 4.3) Audit Trail tab.
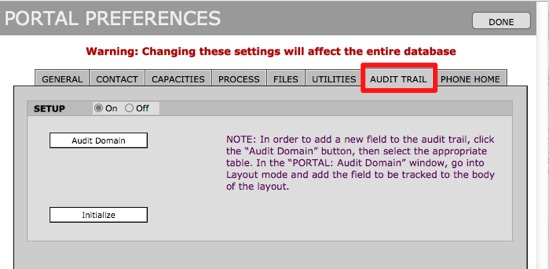
- In the SETUP area, click the Audit Domain button to navigate to the Audit Layouts and PORTAL: Audit Domain windows.
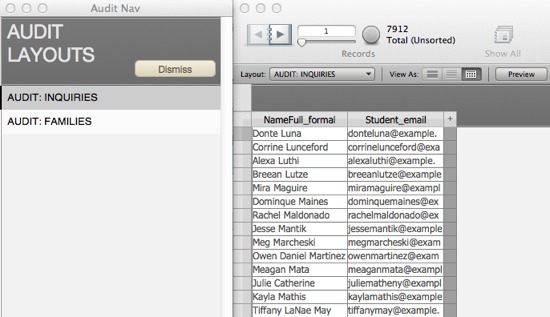
- Click to select either AUDIT: INQUIRIES or AUDIT: FAMILIES depending on what source table you are drawing files from.
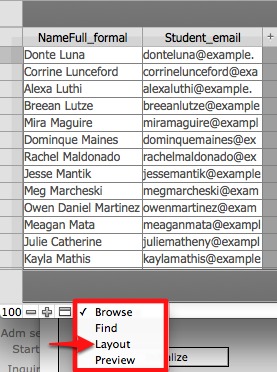
- Enter Layout mode.
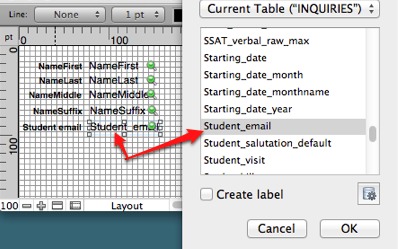
- Highlight an existing field and copy and paste it below.

- Double click into the copied field to open the Specify Field window.
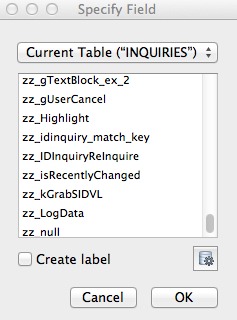
- Select the field you wish to track and click OK to add it to the layout, replacing the field you copied.
 IMPORTANT: Do NOT under any circumstances add the zz_LogData field to the layout. This will create a loop of creating and reporting changes.
 - Return to Browse mode. The new fields are now being tracked.
Turn On Audit Trail
By default, the Audit Trail file of iRChangeLog will be turned off. Only the Admin user will have privileges to perform this step.
To turn on the Audit Trail:
- Click the On radio button in the Setup area.

Initialize ChangeLog
This needs to be performed only once, during the initial setup.
- Click the Initialize button in the Setup area.
 This may take a couple of minutes to process.
Configure ChangeLog Handler Script
The server-side ChangeLog Handler script will need to be configured and scheduled to be run on a nightly basis.
It is this script that will process the changes made within your solution. Changes made during the day will not appear until the following day, after the night’s script has been run.
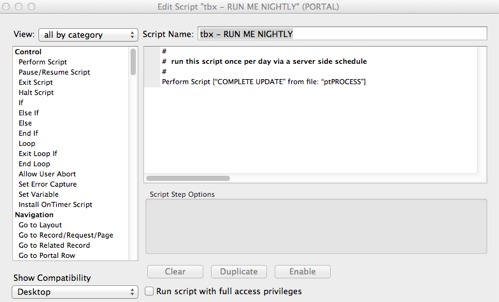
It is recommended that you combine this script with the existing RUN ME NIGHTLY script that will have already been set up in PORTAL.
- In the Scripts file, open Manage Scripts.
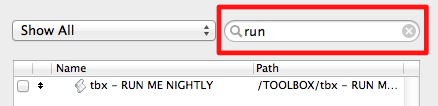
- Using the Search bar, locate the RUN ME NIGHTLY script.
- Double click on this script to open an Edit Script window.
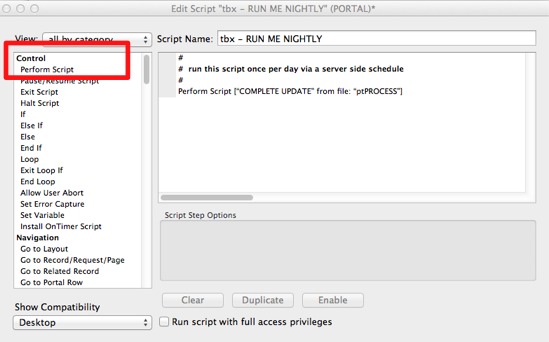
- Click Perform Script from the list at left under the Control heading.
- Make sure this newly created script is highlighted and click Specify.
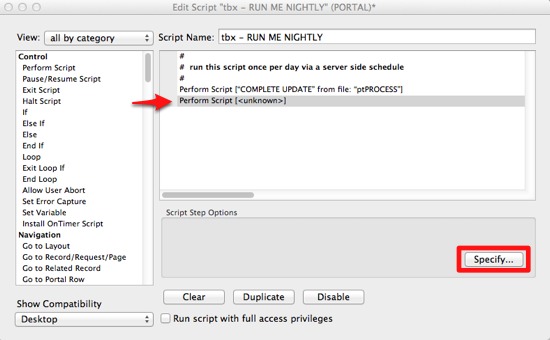
- Make sure that you are in the Current File table. Using the Search bar, find the ChangeLog Handler script. Click to select the script and click OK.

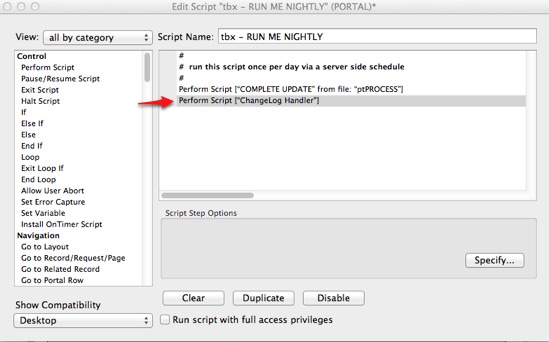
- Close the window and click Save when prompted. The ChangeLog Handler script will now run as part of the RUN ME NIGHTLY script.