Once you have entered charges, you are ready to create invoices. Charges are posted to Students. Invoices are created for Accounts. Fee payers with responsibility for more than one student will receive invoices that list charges for all students related to this fee payer as well as any account fees.
Review and Edit Charges
Invoices can be created at any time. Up until such time as an invoice is created, charges are editable. Once an invoice is created, it is automatically locked and stored as a PDF. An invoice can be reversed, but not changed. This is a critical part of the audit trail in Student Billing.
- From the Student Billing Workflow screen, click on the task Create Invoices.
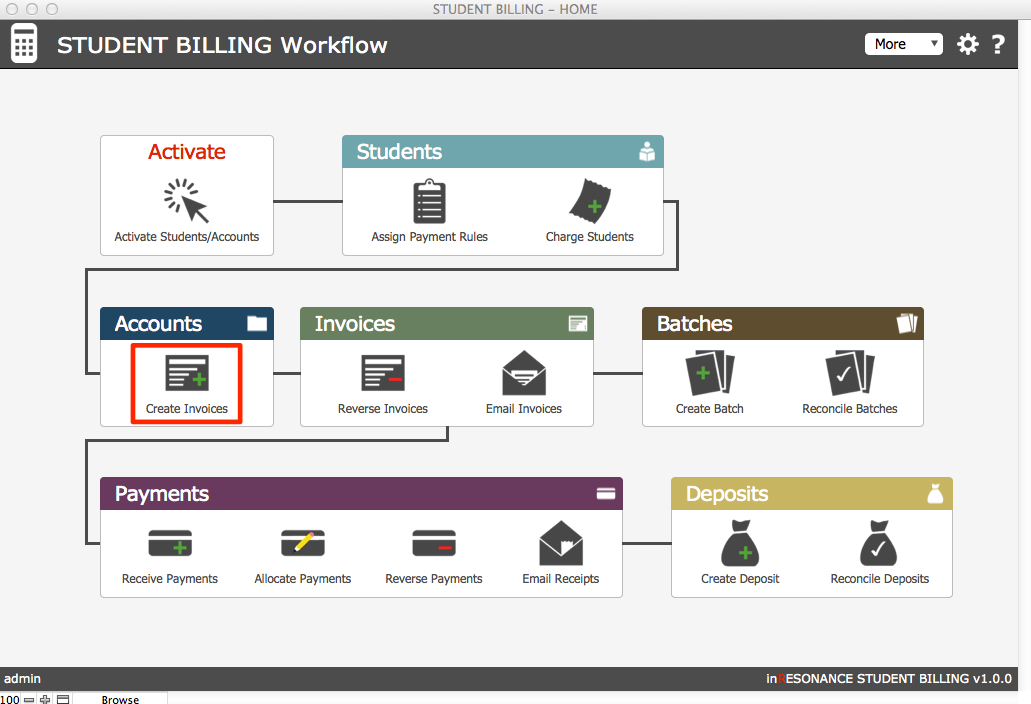
This will navigate you to the Accounts list.
- Filter the list to show accounts with Uninvoiced Charges.
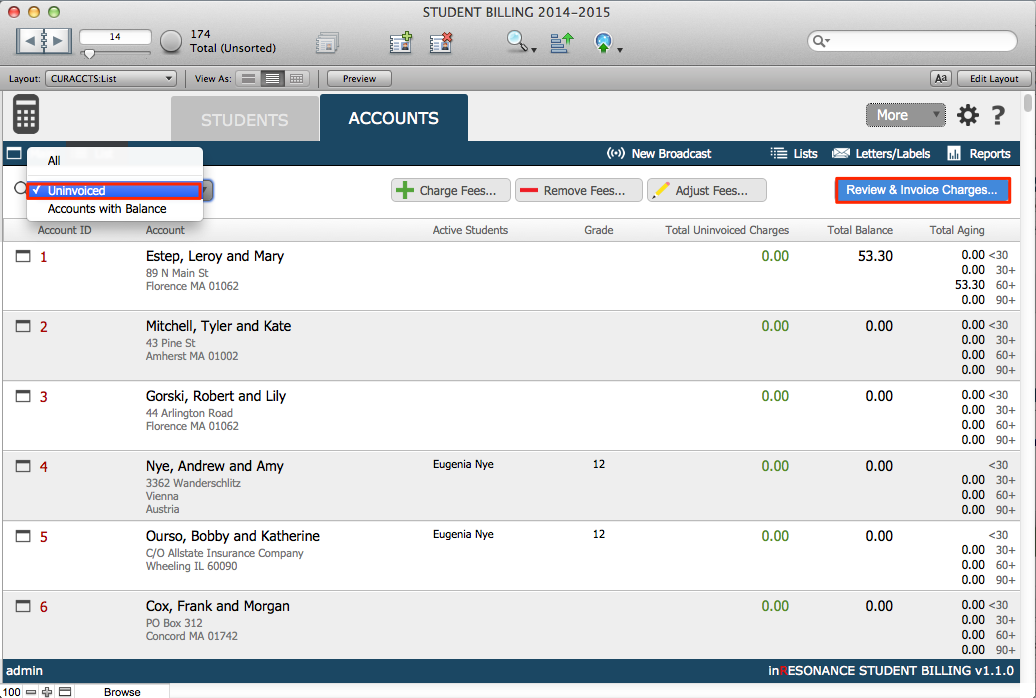
- Click the button to Review and Invoice Charges. This will open the Invoicing List.
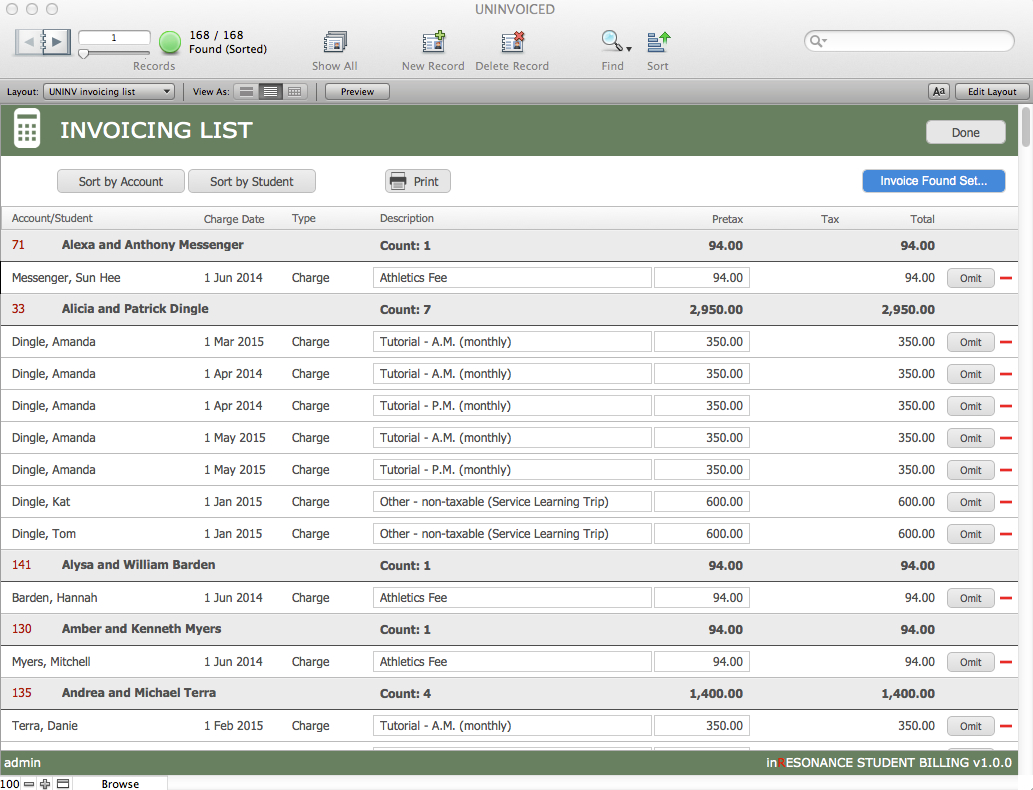
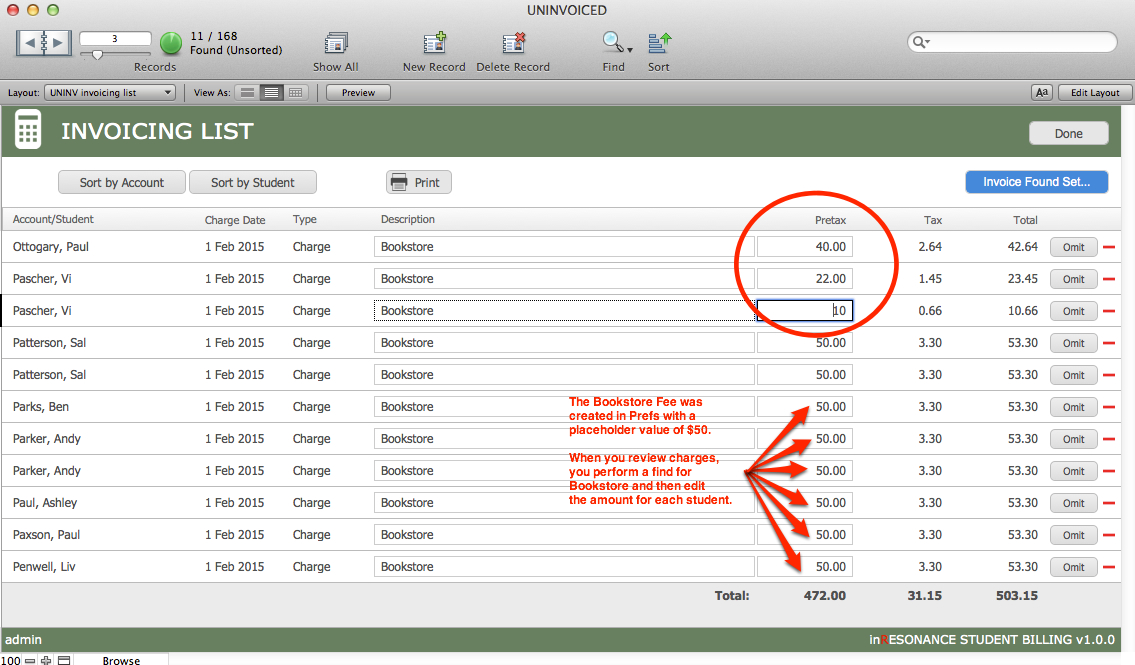
The Invoicing List is a work area where you can perform finds and review/edit/omit/delete charges before creating invoices. You can view charges by Account and by Student. Student Billing creates invoices by Account.
If you have charged ahead, you may want to isolate charges for a certain date range rather than creating invoices for all uninvoiced charges.
- Perform a find for a date range of Charge Dates (e.g. 2/1/2015…2/28/2015).

- Or you might want to perform a find for a particular charge (e.g. Bookstore, or Financial Aid) and edit charge amounts for each student in the found set. Fees such as these (where you charge a group of students one kind of fee and then later edit the amount charged to each student) are created in StuB Preferences using a placeholder amount and then edited as you review charges in the Invoicing List.
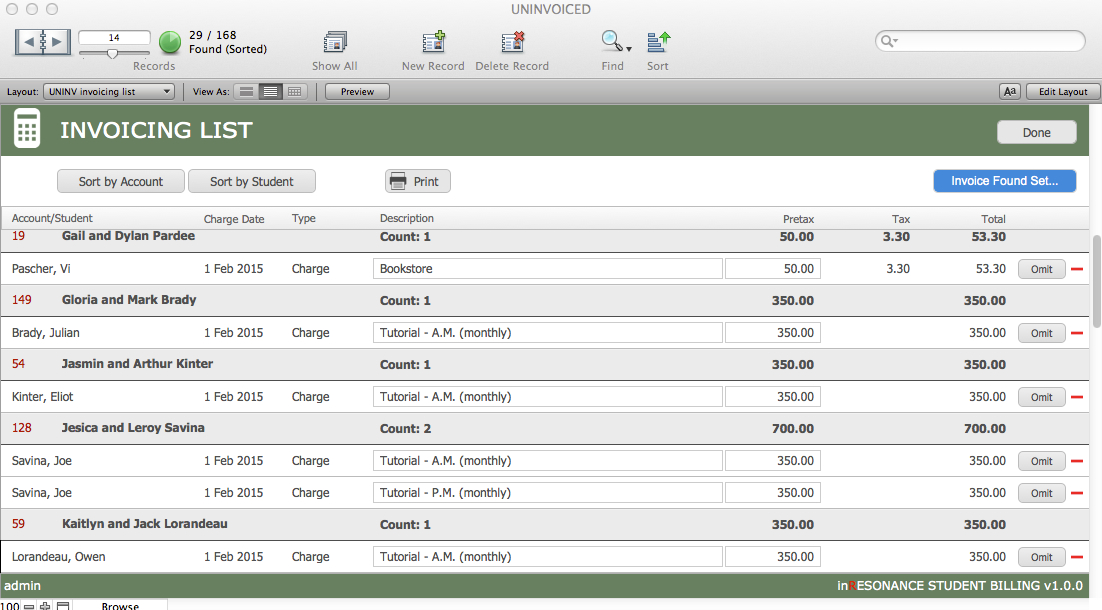
- For reviewing charges, use the buttons above the resulting found set of records to Sort by Account or Sort by Student. For your final review, perform a find for your intentended Charge Date range and review the entire set.
- In the Invoicing List, you may:
- Edit the Description for a charge as it will appear on the invoice.
- Edit the Pretax amount of a charge. The Tax amount will change accordingly.
- Omit a charge from the invoice: the charge will remain in the account as an Uninvoiced Charge for future invoicing.
- Delete a charge by using the red minus sign button at the far right end of the record. This permanently deletes the charge record. You will have to recharge the account if you delete a charge in error.
To exit the Invoicing List without creating invoices, click either the calculator icon to return to the Student Billing Workflow screen, or click Done to close the window.
Creating Invoices
Once your Invoicing List meets your approval, you are ready to Create Invoices.
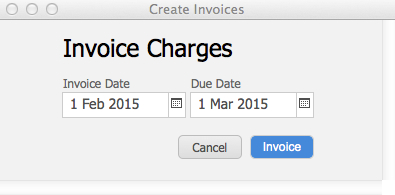
- Click the blue button Invoice Found Set… at the top right of the Invoicing List.

- A dialog box will open in which you enter the Invoice Date and the Date Due. Click the blue button Invoice.
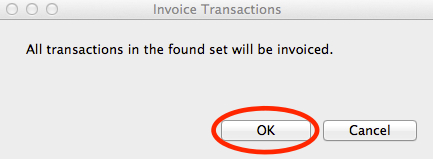
- Another dialog box will open where you will confirm that you want to create these invoices, or you may cancel. Remember that once an invoice is created, it is locked in PDF format and cannot be edited or deleted. (An invoice may be reversed.)