You can send an email to a parent or staff member from within HEALTH 2, or you can send a broadcast email to a group of patients. Your broadcast email can include personalized merge fields to display such information as expired medication, notice of a visit to the Health Center, or a reminder of outstanding certifications. Emails are sent from within HEALTH 2 without exporting data, using the functionality of BROADCASTER 3.
NOTE: This is only a basic description of the process of sending your communications with BROADCASTER. For more detailed instructions, see the documentation chapter on Using BROADCASTER 3.
Sending one email
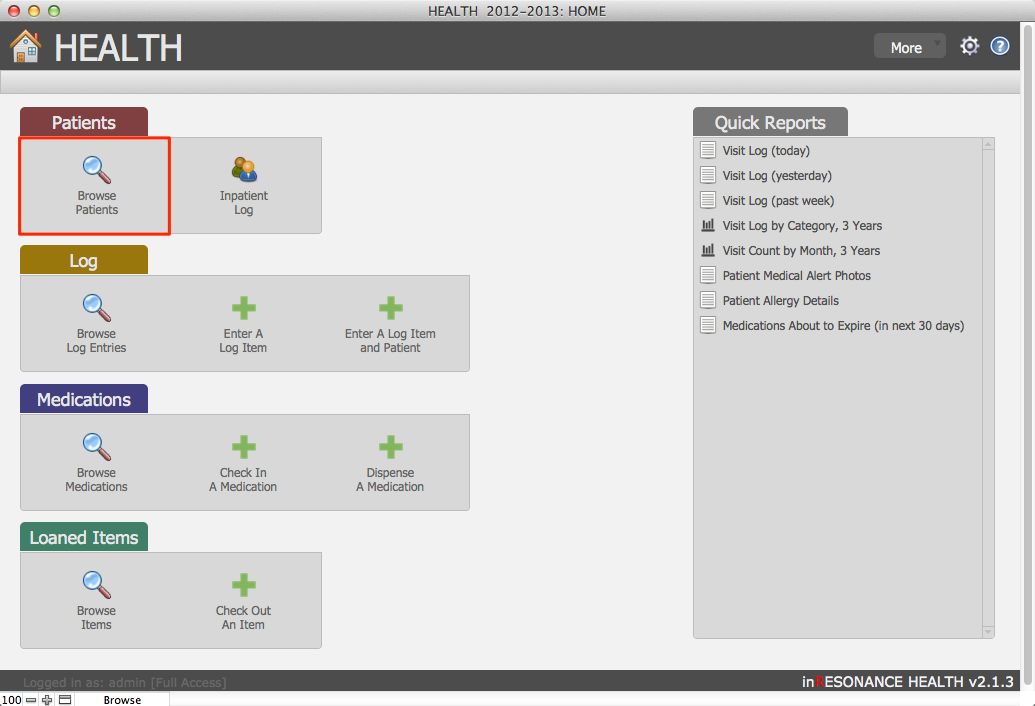
- From the Home screen, Patients tab, select Browse Patients.
- Perform a find for the patient about whom you want to communicate.

- Select the Overview tab and look in the Household area to find the email address you wish to use.
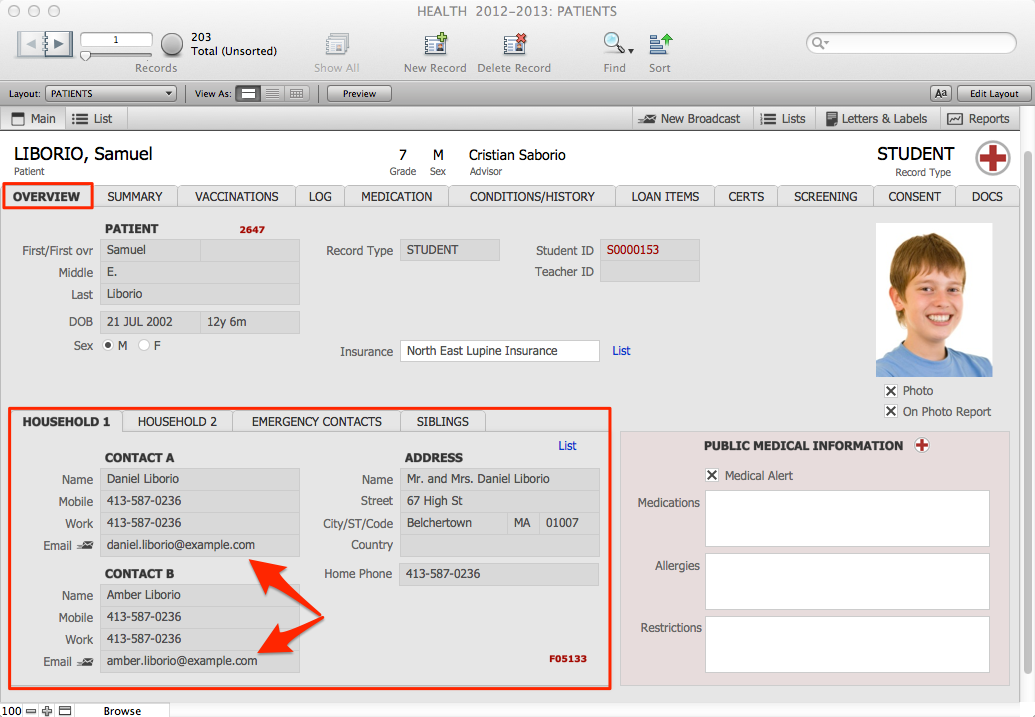
- Click the envelope icon next to the email address. A window will open where you can write and send your email.


Sending a broadcast email to a found set of records
You can send a broadcast email to a group of individuals from within HEALTH 2. Each recipient will receive an individual, personalized message; your message can contain patient-specific information by utilizing email merge fields in your message template.
If you need assistance creating a BROADCASTER template, please contact [email protected].
- Perform a find to gather the set of records.
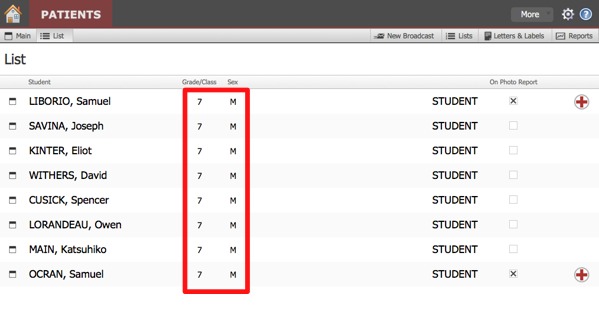
- When your list is correct, click New Broadcast in the top right task bar.

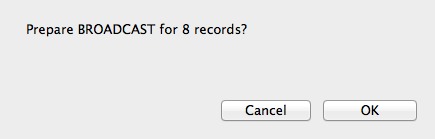
- This will navigate you into BROADCASTER. A dialog box will pop up where you can confirm that you want to prepare a broadcast for the found set of records. Click OK.
- Enter a name for your new broadcast in the dialog pop up box that appears. Click OK.

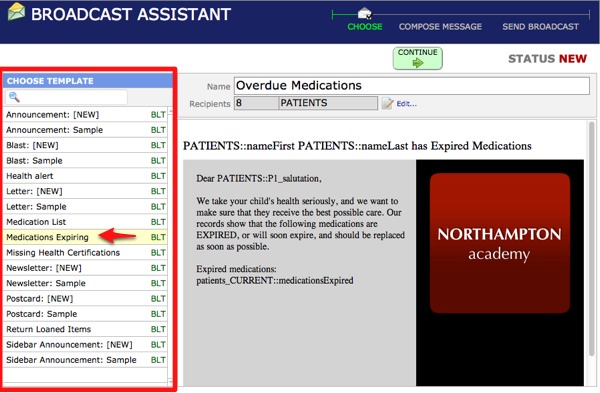
- This takes you to the Broadcast Assistant for your new broadcast. Click to select the Template for your broadcast from the list of templates on the left.
- Review the Recipients List by clicking the Edit button next to your recipients fields above the template display window.

- In the Recipients List, you can see records with invalid emails (highlighted in pink) and you can either:

- De-activate the participant by clicking the recipient name in the list (the recipient will be highlighted in gray and appear to be crossed out); click again to undo; or
- Click on the arrow next to the recipient name to navigate to the original record, where you can edit the email address.
- Click Done to exit the Recipient List and return to creating your broadcast.
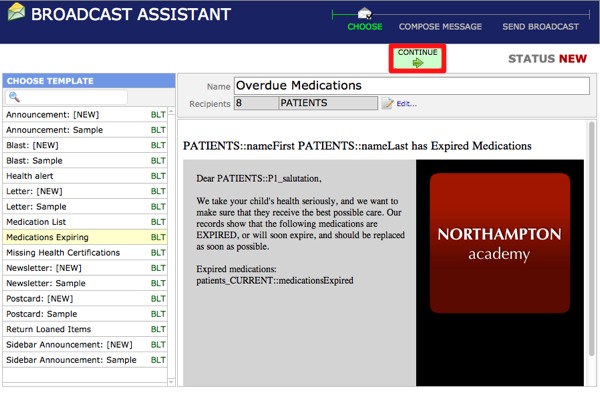
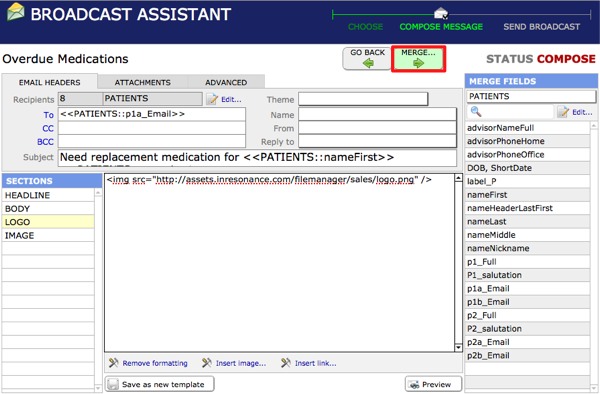
- Click Continue to reach the Compose broadcast window.
Here you can enter/edit:
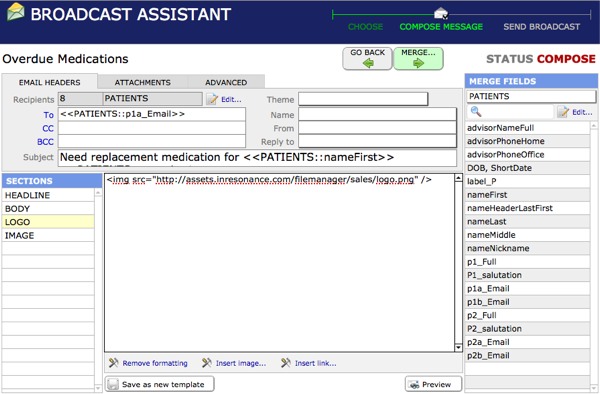
- The email addresses for your broadcast: To, From and Reply to
- The Name that will appear in the recipient’s email inbox as the source of the email
- The CC destination mailbox, where you will receive copies of the entire broadcast (if you wish to have exact copies to forward in case a recipient does not receive the original)
- Subject line
- Review sections of the message. In the body section, insert any merge fields pertinent to your message.
- If you make changes that you will want to use again moving forward, click Save as new template to save. This will add your new version to the list of templates for future broadcasts.
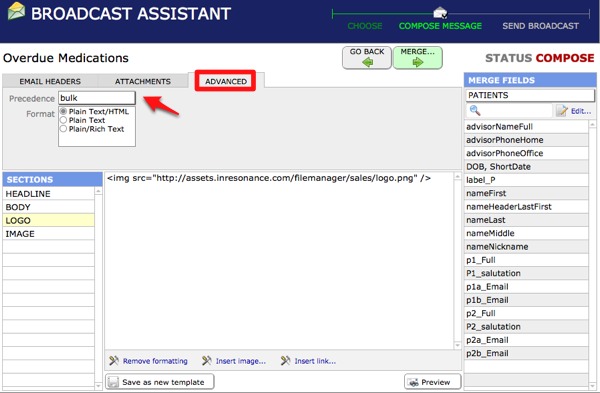
- Click the Advanced tab. Use the drop-down menu to set the Precedence as bulk.
- Click the Merge button to merge your broadcast. This will create individual messages, one for each recipient.
- Test one by sending it to your own email address. Best practices suggest you send a test email to a colleague as well.
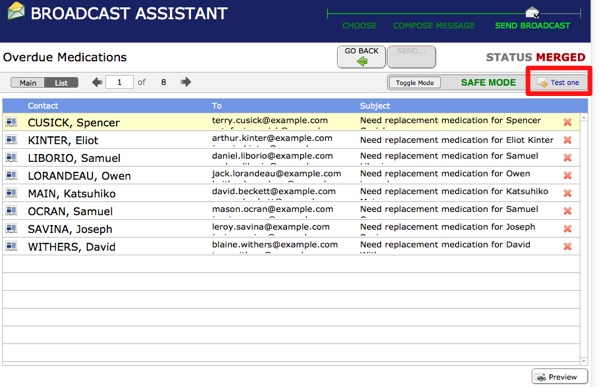
- When your broadcast is as you want it, click the Toggle Mode button to change your status to live mode and click Send.


- Set a future time for sending in the dialog box that appears, or click OK to send now.

- You will be able to track the success of your broadcast in the Broadcast Monitor.
