The Loan Items tab allows you to track items you have loaned to patients and make sure they are returned to the Health Center.
Loan items still out on loan is displayed in two places within the patient record: on the Loan Items tab, and also on the Summary tab. You will be able to perform a find for patients with inventory still in their possession and then send out a postcard, or a broadcast email with an inventory merge field to remind patients to return your inventory once they no longer have a need for the item.
Checking out inventory to a patient
When you issue a loan item to a patient, add a new loan item record:
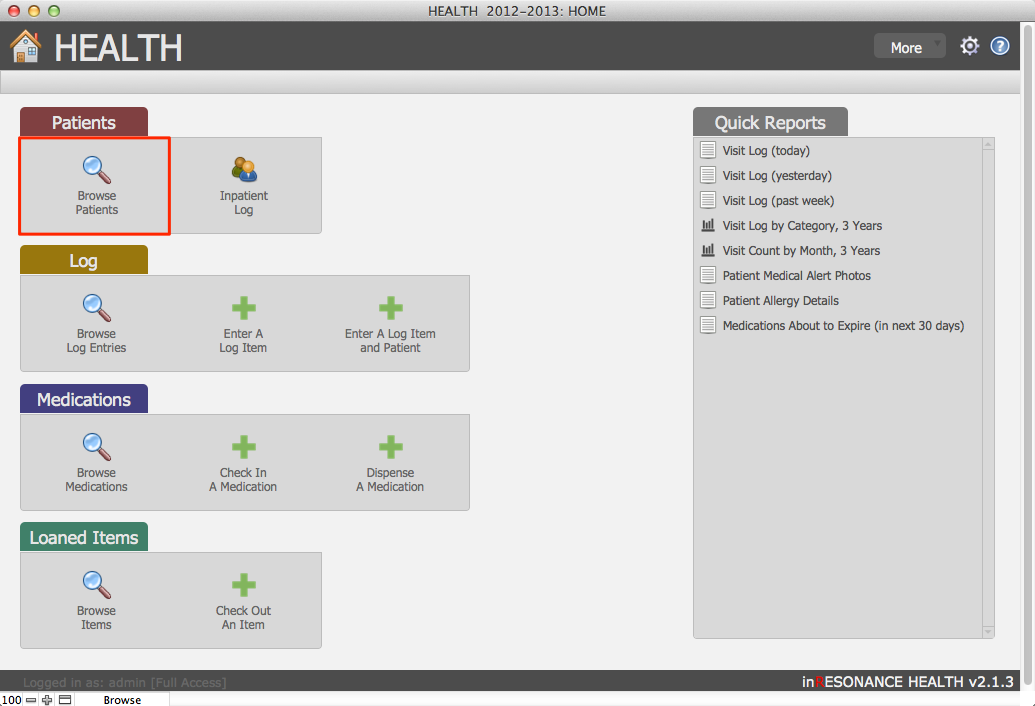
- From the Home screen, Patients tab, click Browse Patients.
- Perform a find for the patient for whom you wish to add a loan item record.
- Within the patient record, navigate to the Loan Items tab.
- Click the New Item button to enter details:
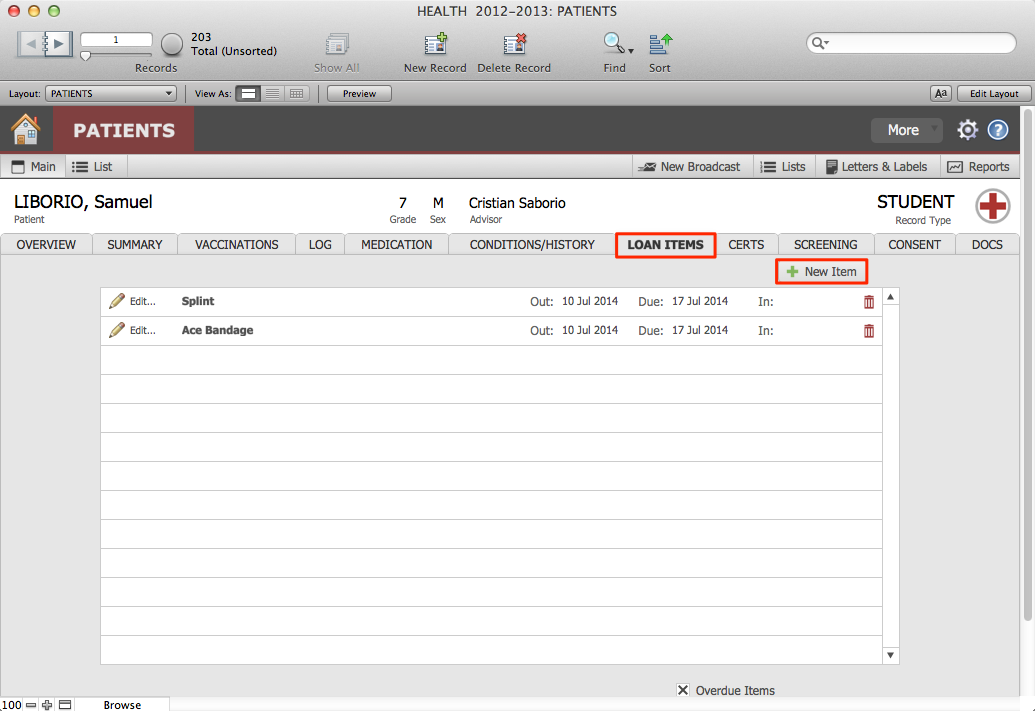
- Enter the name of the loan item that is being loaned to the patient.
- Enter the Date Out field.
- Enter the date by which you would like the item returned in the Due Date field.
- Select either In or Out to designate the status of your loaned inventory item. If an item is marked as Out it will appear in the Summary tab Inventory field.
- The Date In field will be empty until the item has been marked In.
- Click Commit.
Checking in returned inventory
You will update your loan item records when an item has been returned by editing the loan item record.
To edit a loan item record:
- Navigate to HEALTH > PATIENTS.
- Perform a find for the patient for whom you wish to add a loan item record.
- Within the patient record, navigate to the Loan Items tab.
- From the list of inventory, find the pertinent record and click Edit (next to the pencil icon at the left end of the record row). This opens the Edit Loanded Items window.
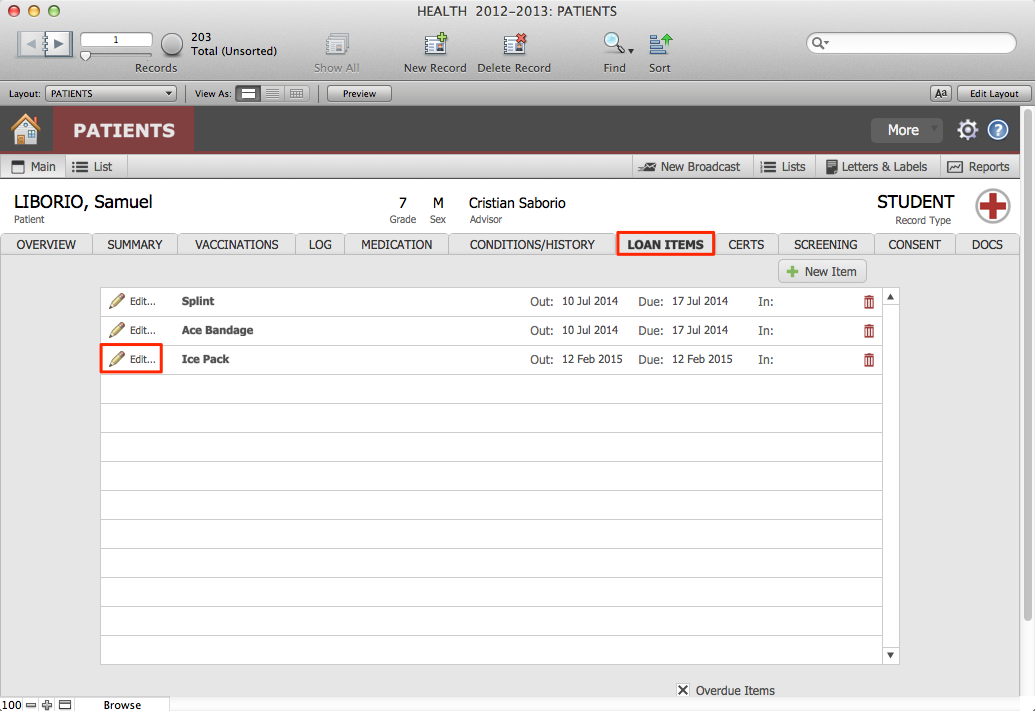
- If a patient has returned the item, change the status from Out to In. This will automatically enter today’s date in the Date In field.
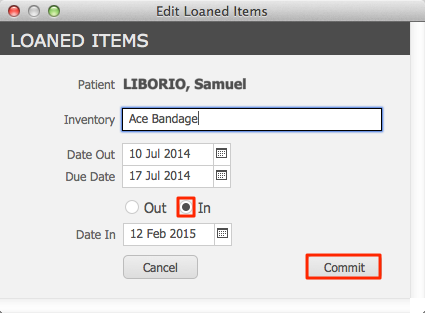
- Click Commit.
Finding overdue inventory
Notice that there is a checkbox called Overdue Items at the bottom of the Loan Items screen. This checkbox will be checked automatically if the patient has any overdue items (determined by the Due Date in an loan items record). You can perform a find on this checkbox to find all patients with overdue items.
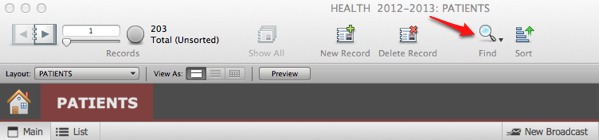
- Perform a find using the Find icon in the FileMaker status area across the top of the screen.

- Check the Overdue Items checkbox.

- Click Perform Find.
This will result in a found set of every patient who has overdue loan items. You can now use this found set to prepare lists, letters, labels, or an email broadcast for overdue items.