This page will demonstrate how you can add to the list of fields and data that is imported into KEYSTONE when a user clicks Admit in PORTAL.
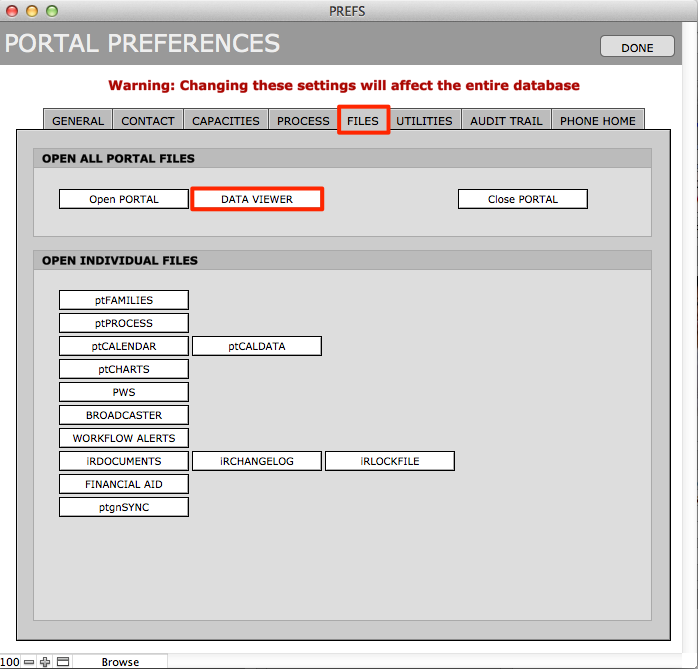
- Click Preferences in PORTAL.
- Navigate to the Files tab, click Data Viewer. This will open the Data Domain.
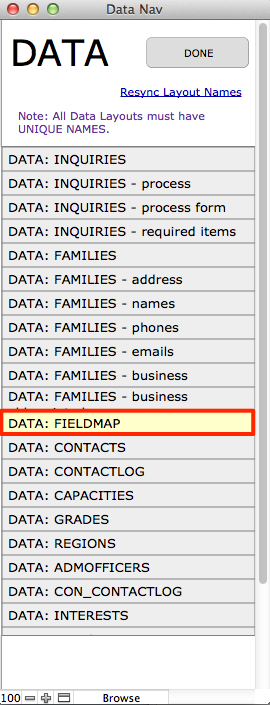
- Click Data: Fieldmap in the Data Nav box.
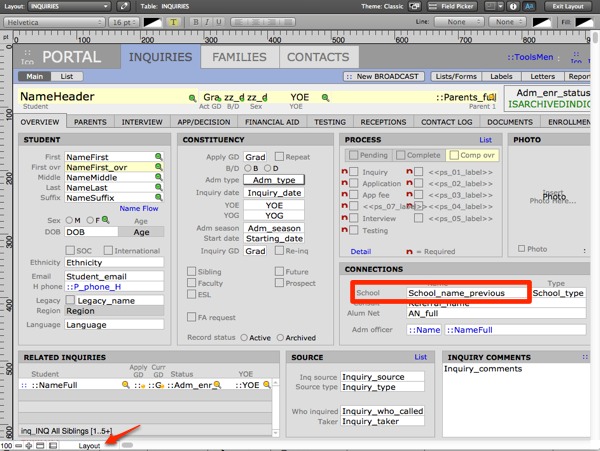
- Click on one of the entries in the Map column. A drop-down menu will appear that indicates how the field is mapped. SIS_Push maps the data from PORTAL to KEYSTONE.
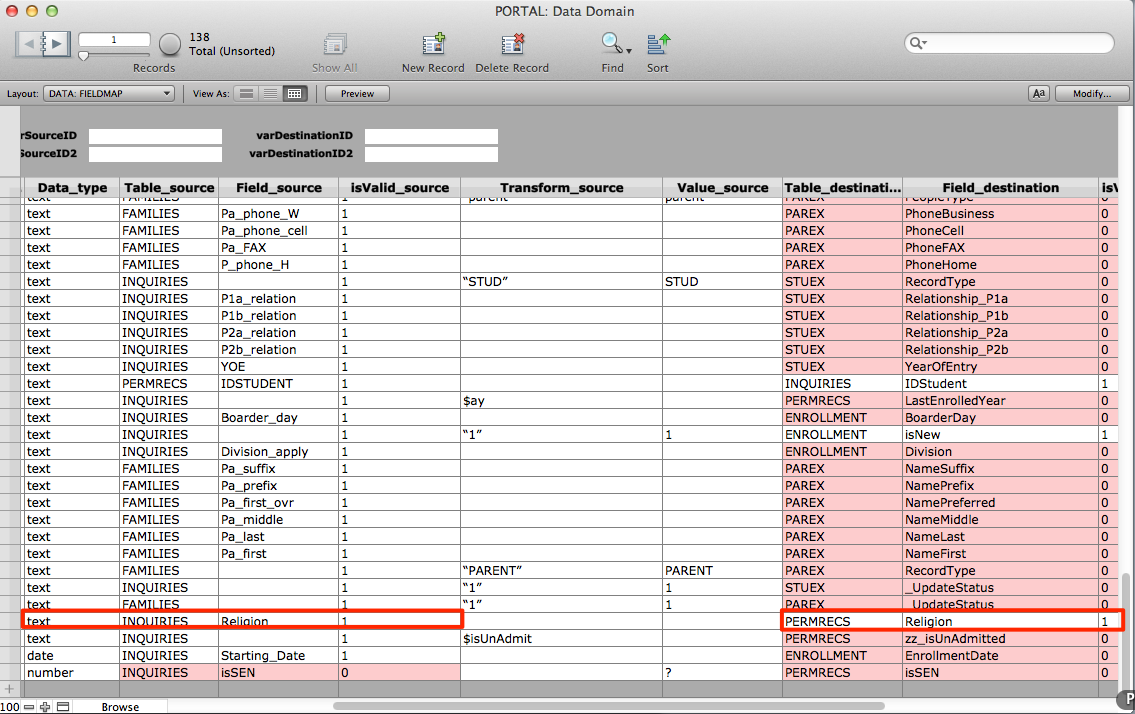
- Perform a find for in the Map column for SIS_PUSH. Fields with pink highlights are not mapped properly.

- Locate the correct name of the field in the solution by entering Layout mode. Return to Browse mode.
- In the Field Map, rename the incorrect field that has been highlighted in pink with the correct name you have just located in PORTAL. Click out of the field and you will notice that the field is no longer pink.
Adding a new field to PORTAL and KEYSTONE
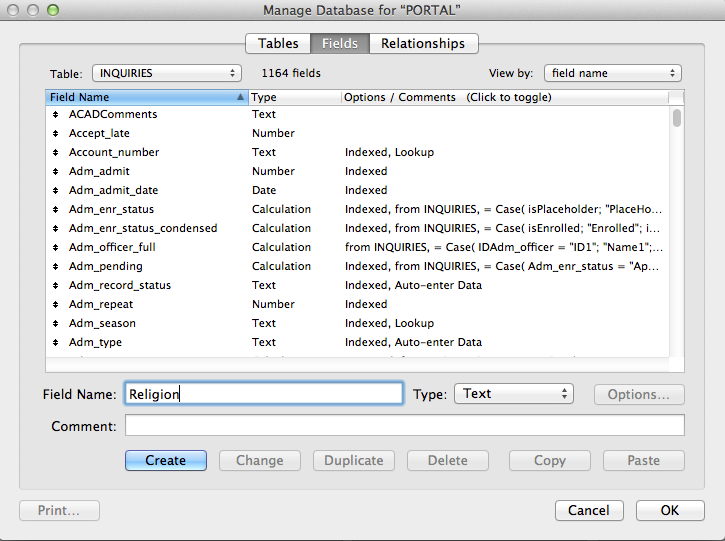
A file may be highlighted in pink because it does not exist in the other solution. In this case, it may be necessary to create this field.
In this case, we are using “Religion” as an example, which would map to the PermRec because it does not change year to year. You must consider whether the field in question belongs in the PermRec or the Enrollment record.
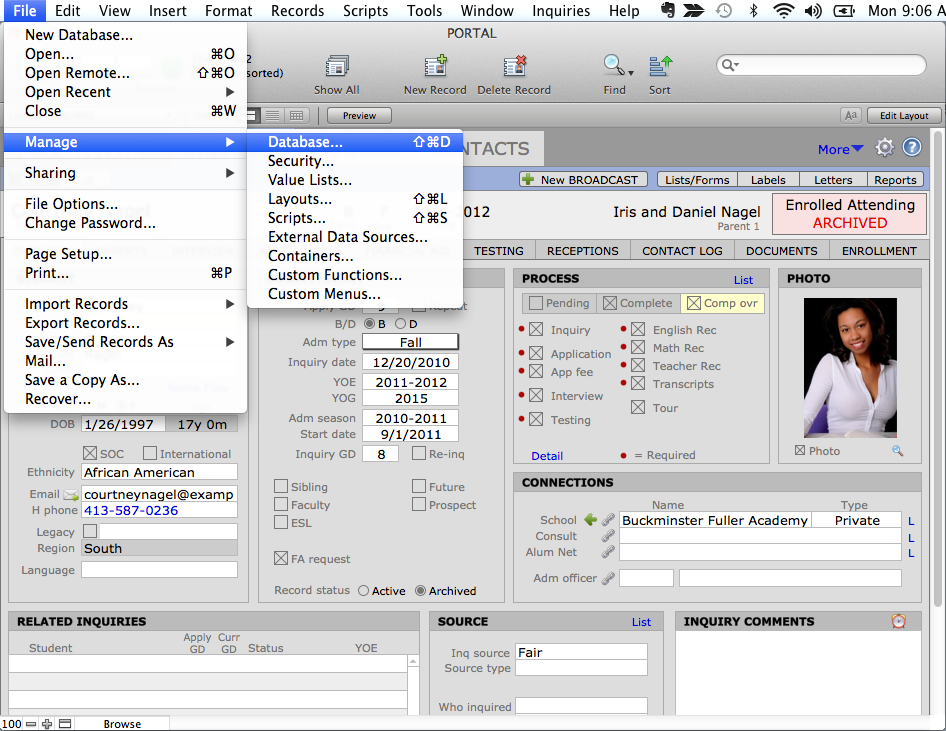
- Click Manage > Database from the File menu.
- Enter in the Field Name then click Create > OK.
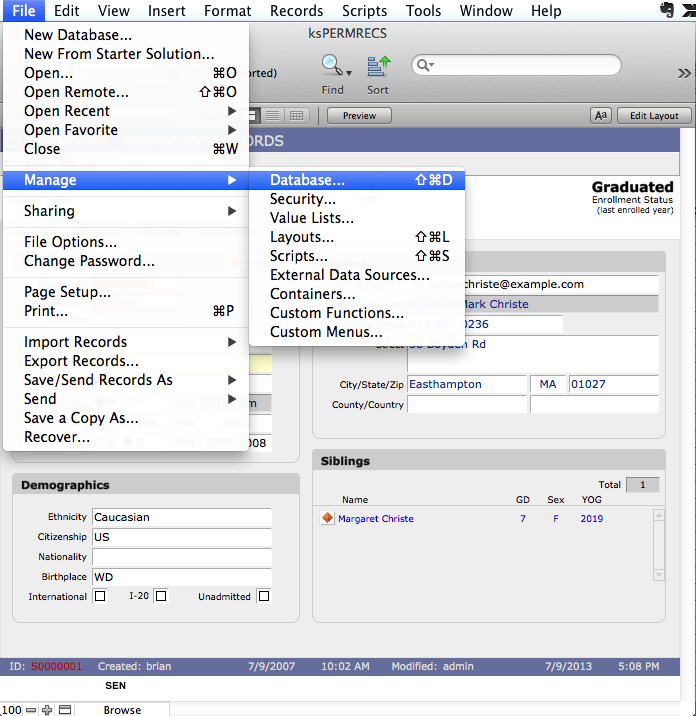
- Navigate to KEYSTONE > PermRecs and perform the same steps.
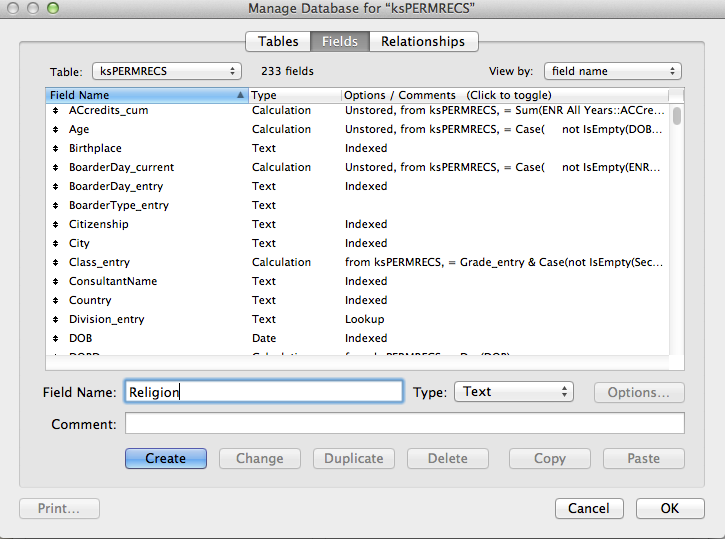
The Religion field carries over from PORTAL to KEYSTONE.
Matching Starting Date in PORTAL to Enrollment Date in KEYSTONE.
- Select a record and click Duplicate Record from the Records menu. This will make a duplicate at the bottom of the list.
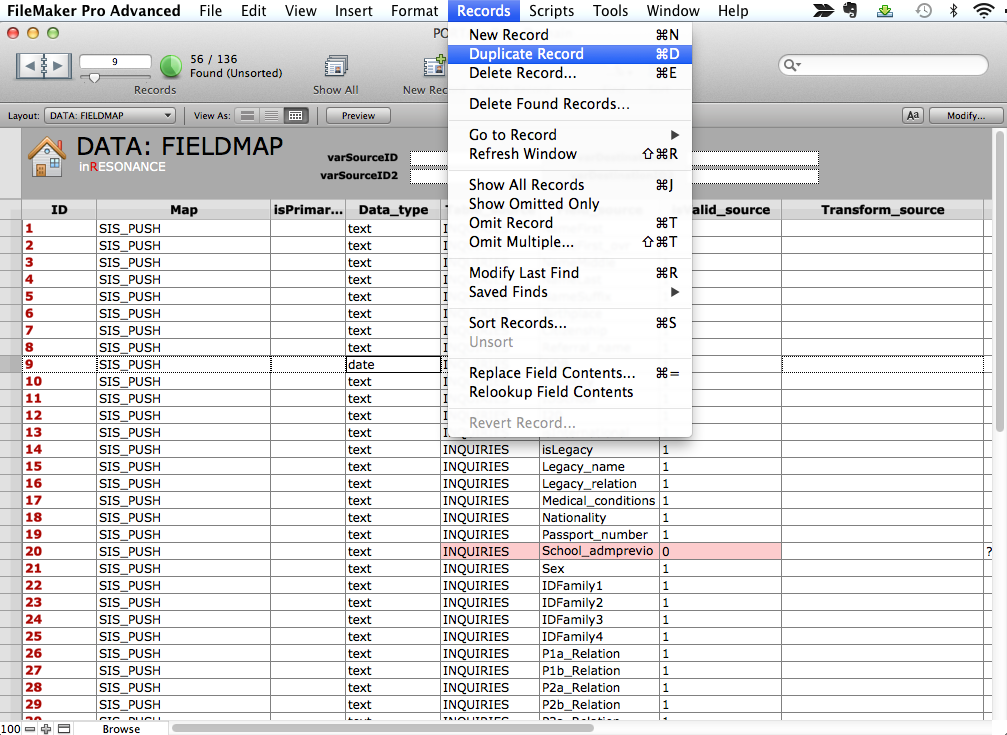
- Change the Data_type to Date.
- Change the Field_source to Starting_date.
- Change the Table_destination from PermRecs to ENROLLMENT.
- Change the Field_destination to EnrollmentDate.
Adding a field to PORTAL and KEYSTONE
In this section we will use an SEN checkbox as an example.
- Add SEN to PORTAL by clicking Manage Database in the File menu and entering the SEN field (enter as “isSEN”). Select Number as Type. Click Create > OK.
- In PORTAL, enter Layout mode. Copy, paste and edit an existing checkbox to create a checkbox in the Constituency area of the Overview screen.
- Double click the checkbox and scroll to select the newly created isSEN from the Specify Field dialog box.
- Change the name of the field to “SEN“. Return to Browse mode.
- Add SEN to KEYSTONE by clicking Manage Database in the File menu and entering the SEN field (enter as “isSEN”). Select Number as Type. Click Create > OK.
- In KEYSTONE, enter Layout mode. Copy, paste and edit an existing checkbox to create a checkbox in the Demographics area of the Overview screen.
- Double click the checkbox and scroll to select the newly created isSEN from the Specify Field dialog box.
- Change the name of the field to “SEN“. Return to Browse mode.
- In the Field Map, duplicate an existing record. It will appear at the bottom of the list.
- Select Data_type of Number.
- Enter Field_source as isSEN.
- Change the Table_destination to PERMRECS.
- Change Field_destination to isSEN.
‹ Displaying Application PDFs in PORTAL Documents Tab Recording Committee Decisions ›