Creating Readers
- From the Readers domain, List view, click New Reader button. A dialog box will appear. You can also add new Readers from Readers > Main view.

- Enter a Reader Name, Short Name and Email for the new reader.
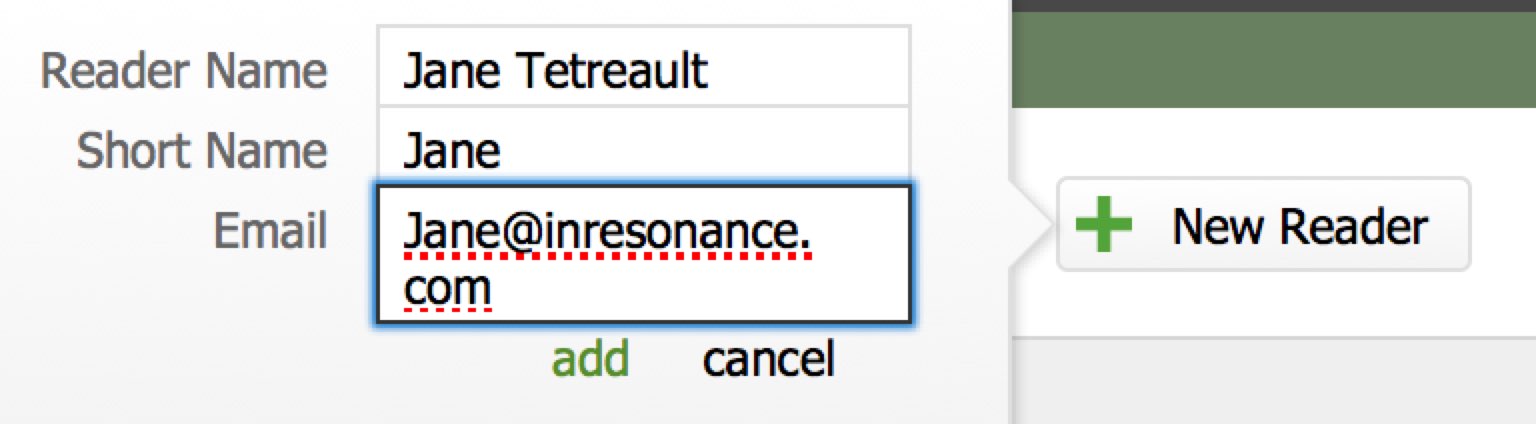
- Click Add. Your new Reader will appear at the bottom of the list.
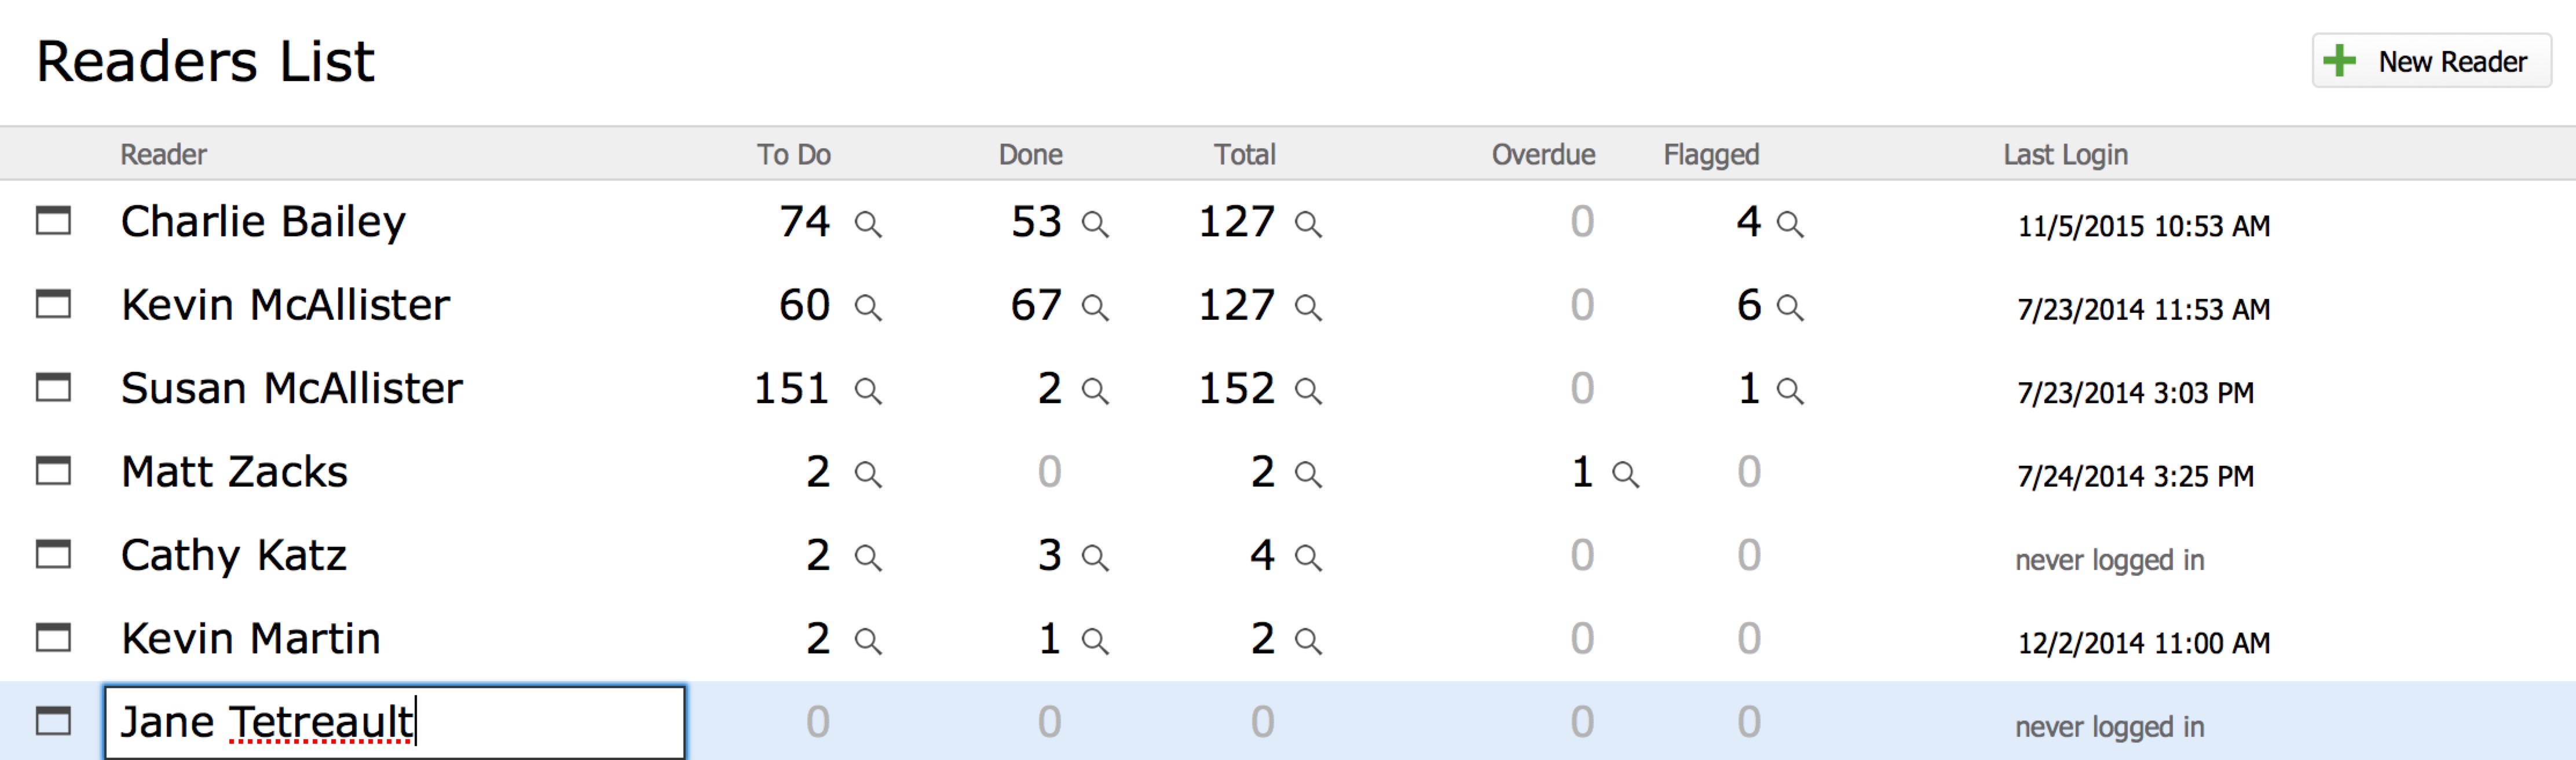
- Navigate to the Detail view for that Reader by clicking the Detail icon to the left of their name in the list.
Configuring Accounts
Each Reader must have an account to access PORTAL Direct via a webpage; this can either be a FileMaker account or an LDAP account. A user must have at least one account; it is OK to have both.
- For a FileMaker account, click Add Account, enter an Account Name and Password.
- Click add to finish.
- If needed, click the Pencil icon to edit and the Trash icon to delete the account.
- If you are using Open Directory or Active Directory, you can use those accounts. Add Active/Open Directory names to LDAP Account Name(s) area by clicking the Add Name button. You may need to check with your IT Department for LDAP names. They must be the same.
- To change a password click on the user name and enter new password.

Archiving Readers
- Find that Reader in either the Reader List view or the Detail view by performing a FileMaker Find.
- Navigate to the Detail view for that Reader.
- Click the Archive Reader button at the bottom right of the screen.