REMINDER: When adding photos, consider the image size. You don’t need huge, megapixel images. Small “thumbnails” will do. If you have a choice of file size, select one that is relatively small. If you are using TAM2, student photos must be less than 200 kb in size.
Adding student photos
Adding Photos One-at-a-Time
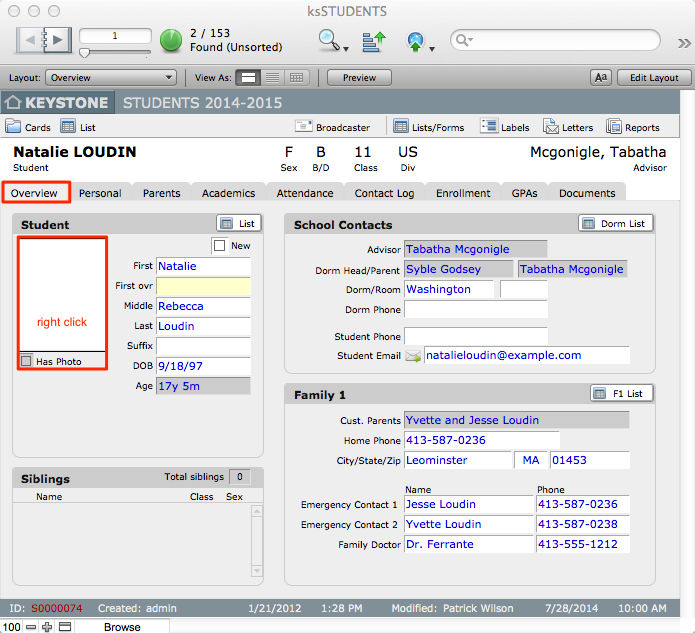
- Find the student record in ksSTUDENTS and navigate to the Overview tab.
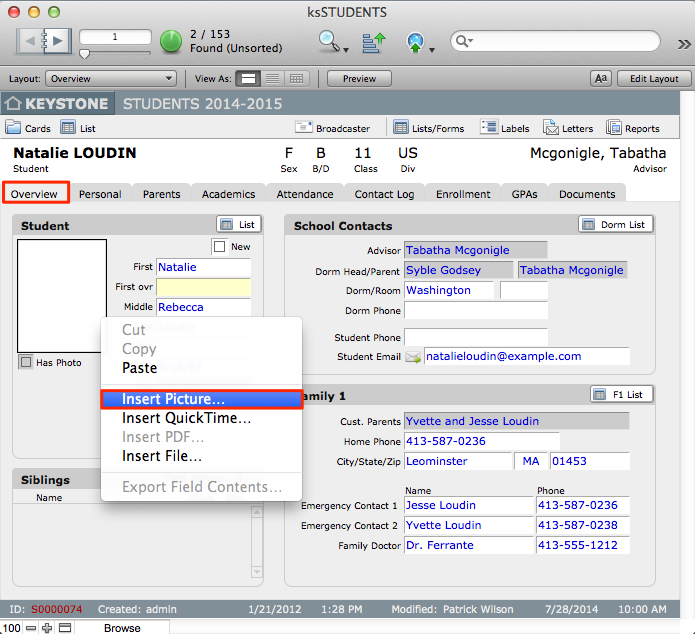
- Right-click (or control+click) on the photo box (it should say “No Photo” if there isn’t a photo yet) and choose Insert Picture…
- Navigate to your photos directory and select the correct photo for the student.
- After you’ve entered a photo, the Has Photo checkbox will be checked. This checkbox allows you to perform a find for students who have (or don’t have) photos, so you can stop and later resume the process.
File-import Method
The second method involves several concepts: knowing where the photos are actually stored and referenced, and having appropriately named image files.
Photos are actually stored in ksMEDIA, in the “Photos” table. To get to this table, you click on “Direct Access” in KEYSTONE, then click on ksMEDIA. Show the status area and change to the “Photos” layout. You can import the photos into this table.
If you really want to make this automatic (and probably the only way to do this automatically at all) is to make sure that the image filenames include the student’s ID (such as “STUDENTID.jpg” generically or “S12981.jpg” specifically). If you don’t have file names like this, then you should either rename the files (if it’s easy enough) or use the manual process described above.
It is also critical that your photo sizes are 100 kilobytes or less in size.
Now it’s time to import.
- From the ksMEDIA/Photos layout, choose “Import Records > Folder…” from the “Edit” menu.
- Click on “Specify…” and select the folder location for the images
- Make sure that the file type is set to “Picture and movie files” and that the “Import only a reference…” checkbox is unchecked. Press “Continue…”
- This is the standard import window. You want to line up “Image” > “Photo” and “File Name” > “IDStudent”. Make sure that the Import Action is set to “Add new records” and click “Import”. Ensure the “Perform auto-enter options…” checkbox is checked and click “Import”. The import summary will be displayed with the number of records added, etc. Click “OK”.
- Lastly, because the Student IDs will have “.jpg” in them, you need to go through each record and remove the “.jpg”. In other words, you need to remove everything from the IDStudent field except the actual IDStudent (“S12981.jpg” to “S12981″). You can do this with a calculated replace, depending on your actual filenames, if you use the following replace calculation on the IDStudent field: Substitute(IDStudent;”.jpg”;””)