Once you have created your found set and chosen your template, you are ready to compose your broadcast.
In Broadcast Assistant: Compose Message you specify the email address field(s) from your solution to which the broadcast will be sent, as well as the originator and reply-to email addresses.
You set the theme (color scheme) and the subject line. You create your message, including merged fields, images, links and attachments.
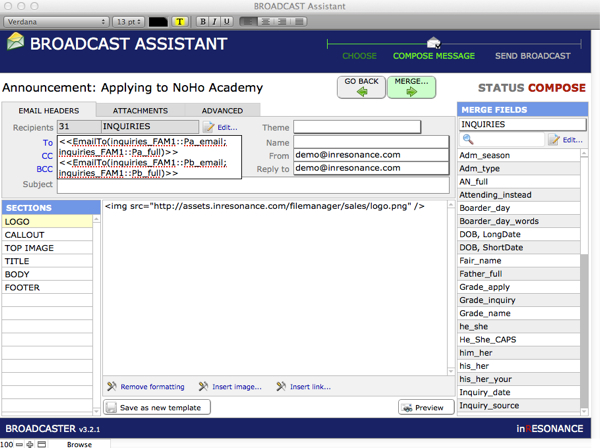
Setting Email Headers
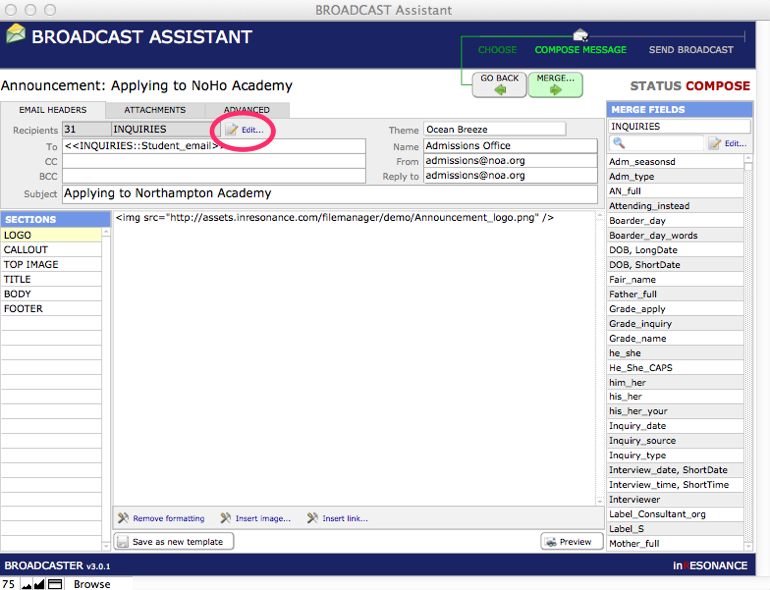
- If you have not already done so, click the Edit button to review, edit and refresh the Recipient List, as in Choosing a Template.
- Click the Theme drop-down menu to specify a color scheme you wish to preview. You will also be able to preview and choose themes further along in the process of creating content.Click the Preview button at the bottom of the screen to view.
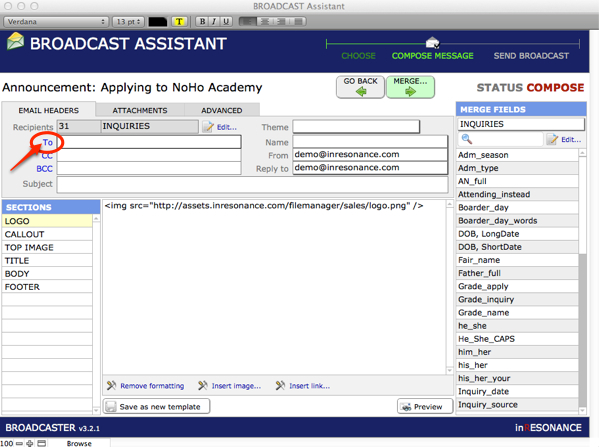
- Next select the appropriate email addresses for your broadcast, by clicking the link named To. The Select Recipients window will open; here you will find commonly-used combinations of email address merge fields.
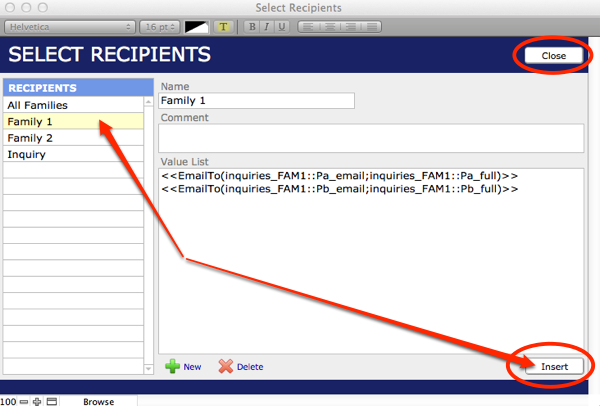
- On the left side of the Select Recipients window, under Recipients, select the recipient or group of recipients for this message by clicking on the one you want to use.NOTE: Multiple email address merge fields should be separated by a carriage return.NOTE: It is possible to add your own recipients email address merge fields, or group of fields, to this list. Because it is imperative that your email address merge fields be entered perfectly, we encourage you to contact [email protected] to confer about adding new recipients here.
- Click Insert.
- Click Close to return to the Broadcast Assistant window.
- Click the Name field to access a drop-down menu. This is the name of the sender as you wish it to appear in the recipient’s email inbox. Select a name from the list or click the Edit… to add to the list of options. Insert a carriage return between each new Name entry, so there is only one name per line in the menu. Click OK to close window.
- Click the CC field to add a secondary group of recipients to your broadcast message.For example, you may wish to include the email for Parent a in the To field and then the email for Parent b in the CC field. Each parent will receive a copy of the broadcast and will be able to see that the other parent also received it.NOTE: This should not be a manually entered individual email (for example, [email protected]), only a field chosen from the Merge Fields list. If you manually enter an individual’s email address in the CC field, that individual would receive a copy of every single message sent in your broadcast (e.g. 200 recipients, 200 copies to that one individual!).
- Click the BCC field to add a Blind Carbon Copy to an undisclosed secondary group of recipients. The only recipient addresses that will be visible to all recipients are the one in the To: field and the one in the CC: field.NOTE: This should not be a manually entered individual email (for example, [email protected]), only a field chosen from the Merge Fields list.In the Sending a Broadcast section, you will have the opportunity to enter an email address for a person who should receive a confirmation that this broadcast has been sent.
- Click the From field to access a drop-down menu. This is the email address that will appear in your recipients’ email inbox. Select an address from the drop-down list or click Edit… to add to the list of options. Click OK to close window.
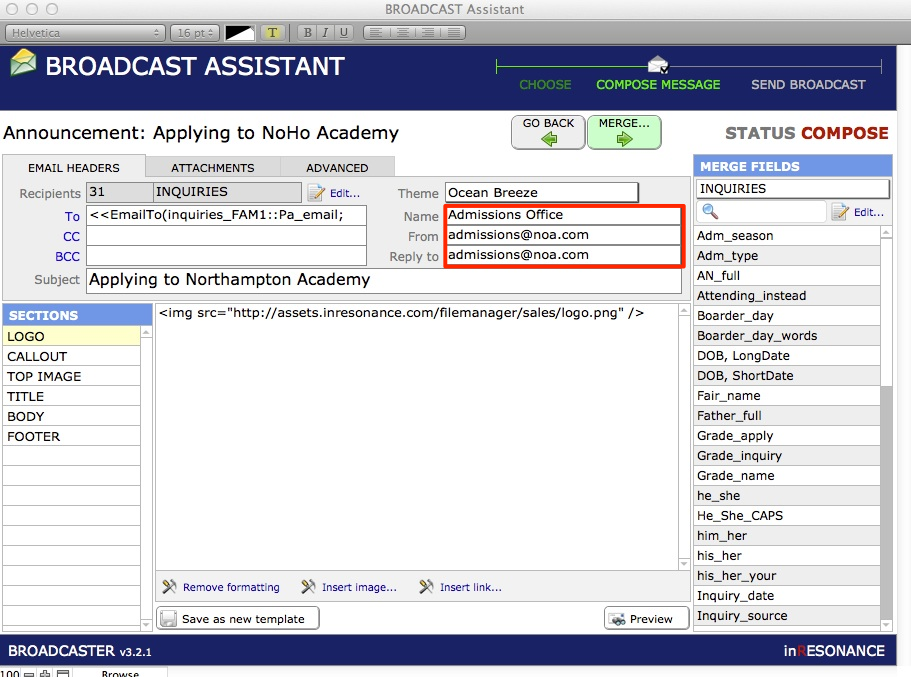
- Click the Reply to field to access a drop-down menu. You can enter/specify a different reply email address than the From. Select an address from the list or click Edit… to add to the list of options. Click OK to close window.
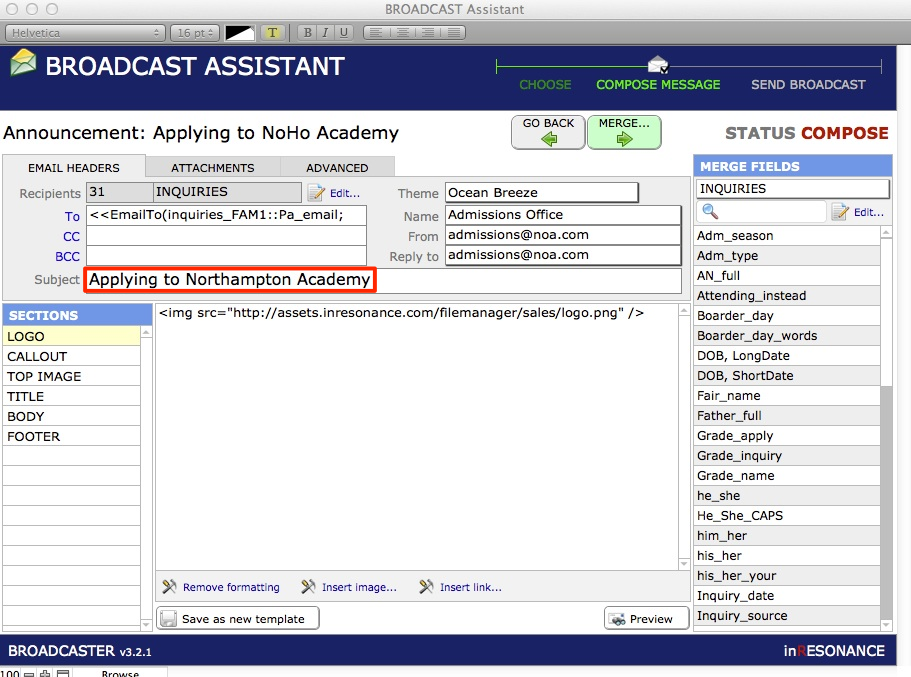
- Click on the Subject line to enter the title of your message as it will appear to your recipients.
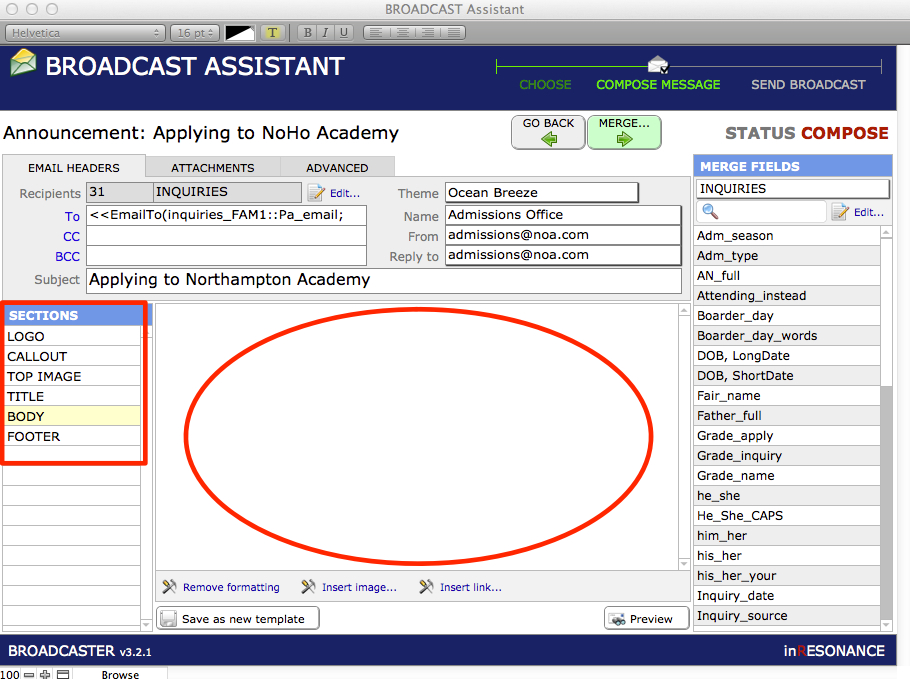
Adding Content to Each Section of Your Message
The lower portion of your screen is where you will compose your message. Each broadcast message is organized into Sections; each Section has its own appearance. Add content to each Section of the message separately. If you do not enter content into a section, the section will not display in your message.
- In the lower left portion of the screen, click on each Section in turn (Top, Header, Body, Side, Footer, Banner, etc.) to create the content that will appear in that section. Enter or edit text.
- As with other FileMaker data entry, your changes are not committed until you click OUTSIDE of the area/field. For example, if you enter or edit a section and then click Preview, your changes will not appear if you have not clicked out of the editing area to commit your changes.
Formatting Text to Override a Selected Theme in BROADCASTER
The appearance of each section is controlled within the CSS Themes. Be aware that different templates offer different combinations of sections.
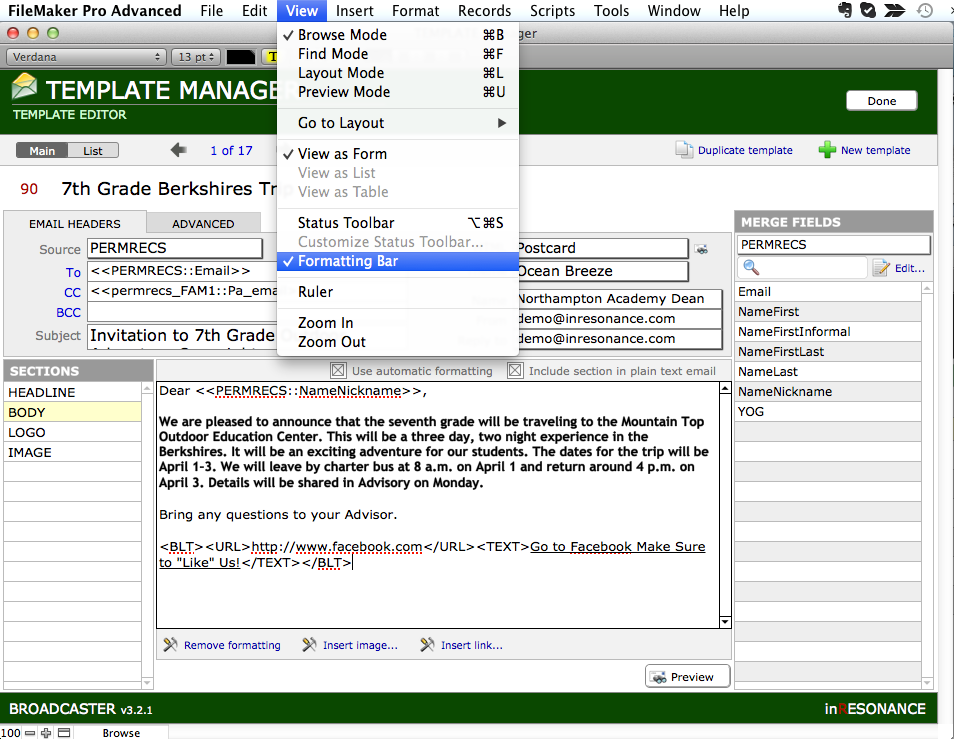
- Select the Formatting bar from the View menu: make sure that there is a checkmark next to it.
- Select the text you want to format.
- From the Formatting toolbar click the color palette and select the color that you want to make the text.
- If you are editing text that is a hyperlink (e.g., a clickthrough or regular link) then you also need to click the “U” icon to make the text underlined.
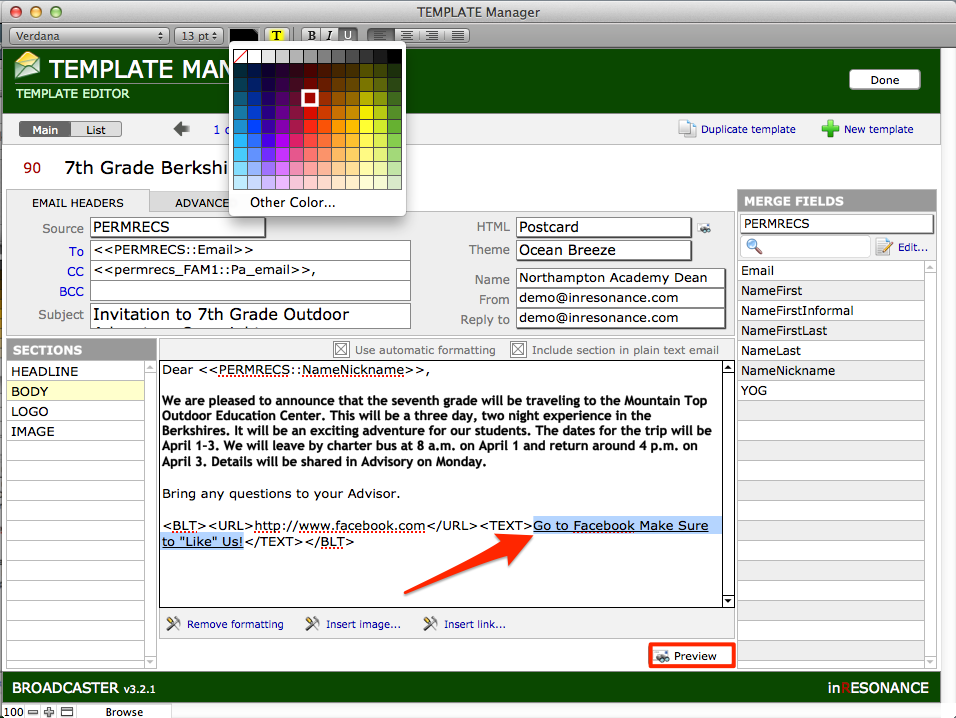
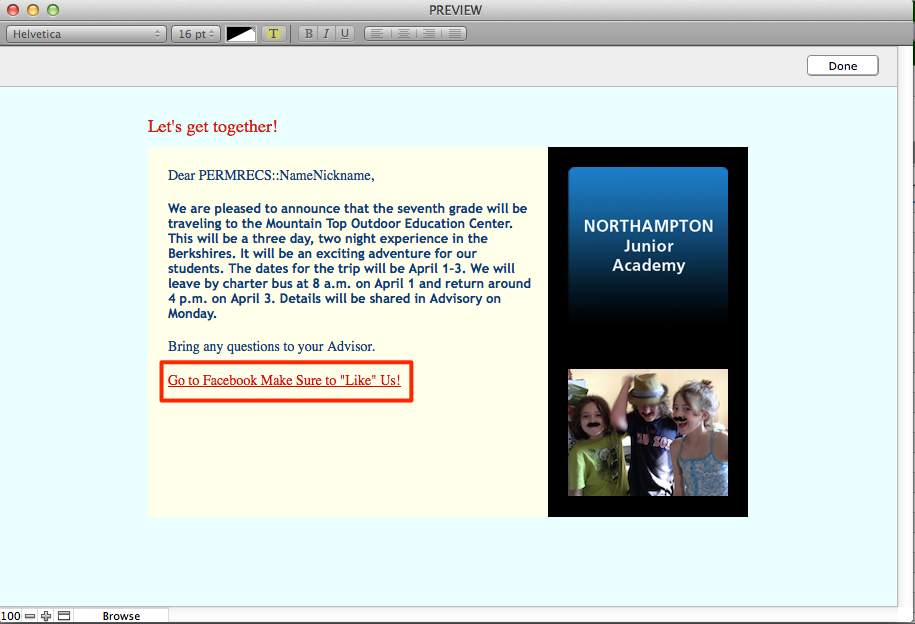
When you view the preview, you should now see your text with the desired formatting.
Depending on your theme’s defaults, you may need to go back to the composer to change the font face, size, or other elements of your text.