Drop/Add is a link from KEYSTONE Central Nav > Registrations domain.
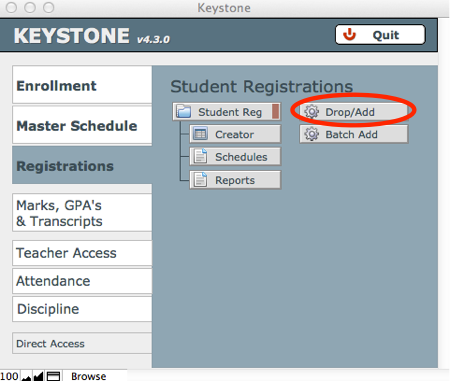
- Click Drop/Add to open the interface.
- See that the Academic Year for your search is correct.
- Search by Student Last Name or Advisor (search area top left), or Section (search area top right) to find the student whose schedule you want to change.
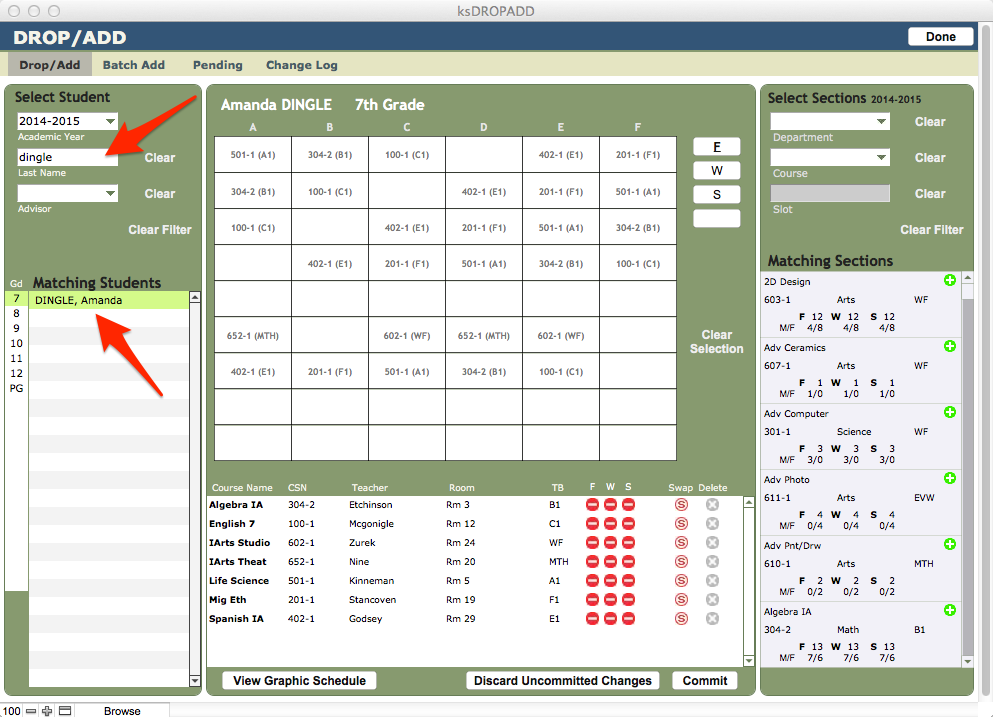
- The student’s graphical schedule will appear; below the schedule is a list of Sections for which the student is registered. In the list below the schedule, find the Section you want to Drop and click the red minus/drop button for the term you wish to drop. If dropping the course entirely, and if no grades for this course have been posted, click Delete.
- To Add a section to a student’s schedule, find the Course using the search on the top right. A list of Sections will display in the right-hand column. As you click through available Sections, the associated Timeblock will highlight slots on the schedule, to assist you in finding a good match.
- When you have identified the Section you want for this student, click on the section to add it to the student’s registrations.
- Click Commit.
Some Terminology:
Delete – To permanently delete a Student Registration record. This is useful for the beginning of year edits when a student has been placed in a class that they aren’t going to attend. Any record of the student ever being registered for this class is permanently deleted from KEYSTONE.
Drop – To drop a student from a particular term. To do so, click the red minus sign in the appropriate term column in the Drop/Add interface. This unchecks the appropriate term checkbox for the selected term. This will remove the student from rosters for that term only, in TAM and KEYSTONE proper. The record will still appear on the transcript, however, unless you specify Off Transcript from the Overview tab in Student Registrations. This is useful when a class has been partially completed and grades have been collected.
Swap – To change the Section in which a student is enrolled for a selected term. This is useful:
- When placing a student in a different section for one or more terms, while keeping all terms on the same line on the transcript.
- When swapping a student into a different section of a class to eliminate a scheduling conflict.
- When assigning multiple single term electives to appear as a single item on the transcript.
A Swap does not work if you are changing Levels; its purpose is to change within the same course to a different teacher.