Printing Labels for Both Family 1 and Family 2
If you generally send mailings to both Family 1 and Family 2, you may consider printing these labels and/or envelopes from the FAMILIES file. This will allow you to print all your labels in one step as opposed to printing separate sets for Family 1 and Family 2.
- Find the group of students to whom you are mailing.
- Select the script Show All Related Families from the Filemaker Pro Scripts menu.
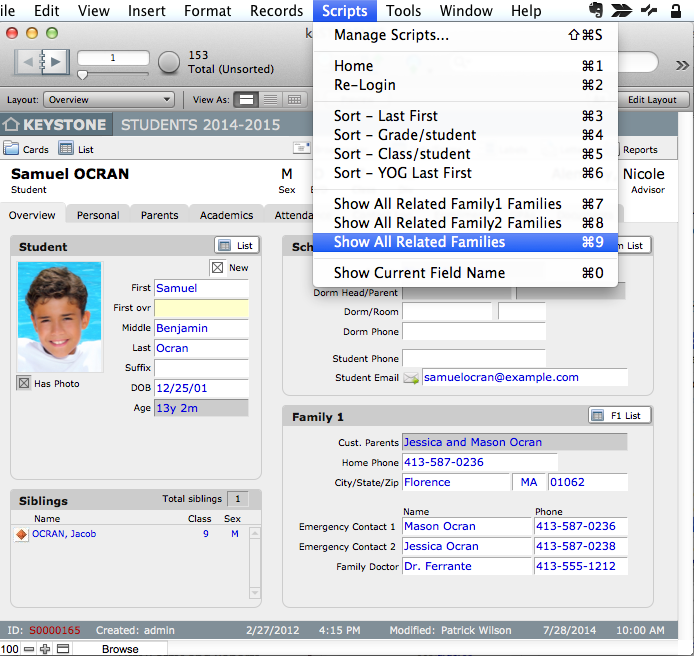
This will open the FAMILIES file with a found set of families related to the found set of students.
- If you wish, sort the records using the script Sort by Last First in the FMP Scripts menu.
- Click the Labels icon in the Task Bar.
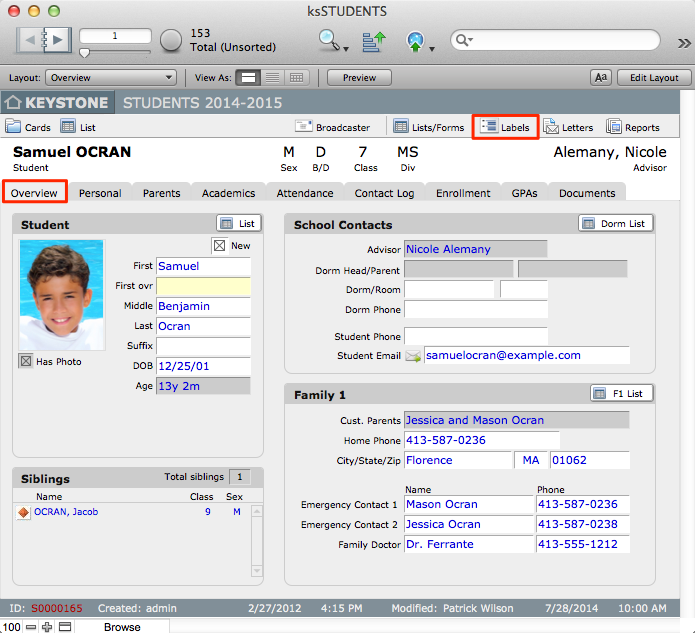
- Click the label you wish to print.
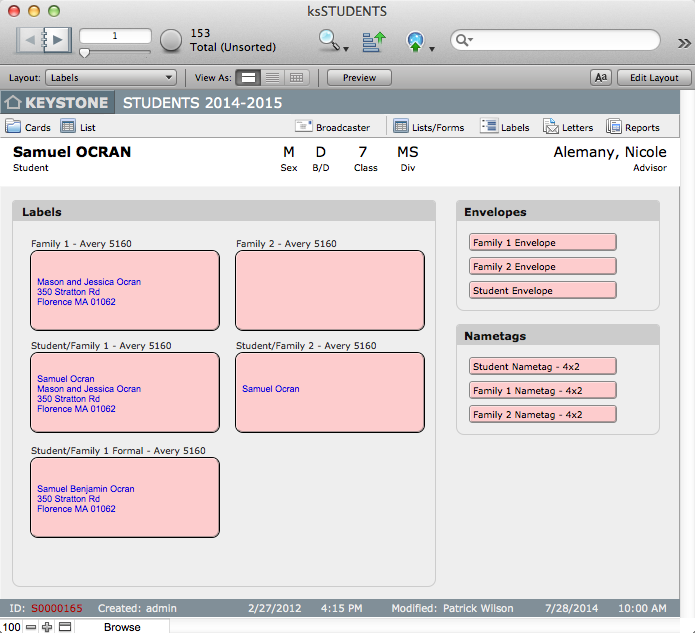
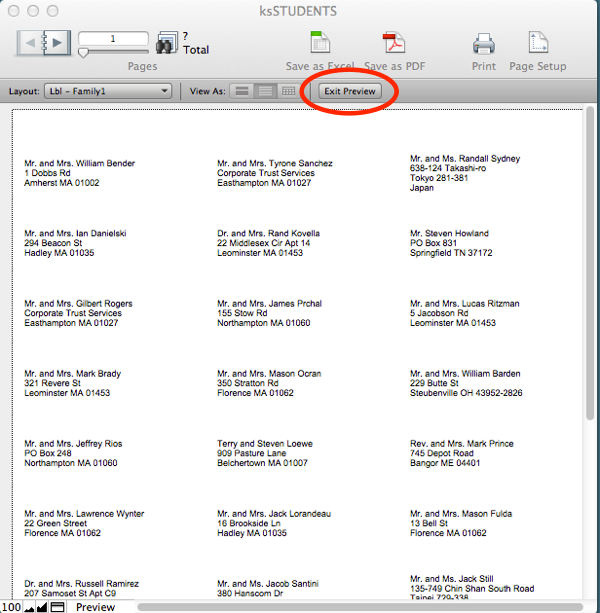
- The records will be displayed in a list. To view the labels as they will print, enter Preview mode.
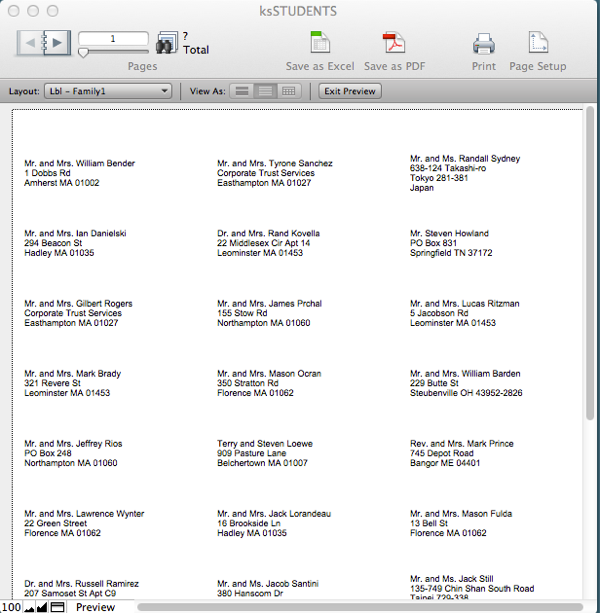
- To print the labels for the found set, select Print from the FMP File menu.
- To continue, Exit Preview to return to Browse mode. Click Cards or List to return to STUDENTS.
An advantage of this method of printing is that only one label is produced for each family, regardless of how many children they may have enrolled in the school. One disadvantage of this method of printing is that you can sort the family records only by the name of Parent A. It is impossible to sort the Family records by the grade of the students because individual families may have more than one student associated with them.
Printing Letters
There is no need to use Microsoft Word or any other word processing program to do mail merge with KEYSTONE. Your productivity tasks are done within KEYSTONE, without exports. Merge fields in the database can be placed on layouts to produce the same effect.
To make navigating to various letters easy within KEYSTONE, Letters Organization screens (Org screens) are available within STUDENTS and FAMILIES. On the Letters Org screen, each letter name is a button that, when clicked, navigates to that letter. All letters can be edited as needed and new letters can be added to the Org screen.
- Find the individuals or group of individuals for whom you wish to print a letter in STUDENTS.
- Click the Letters icon in the Task Bar.
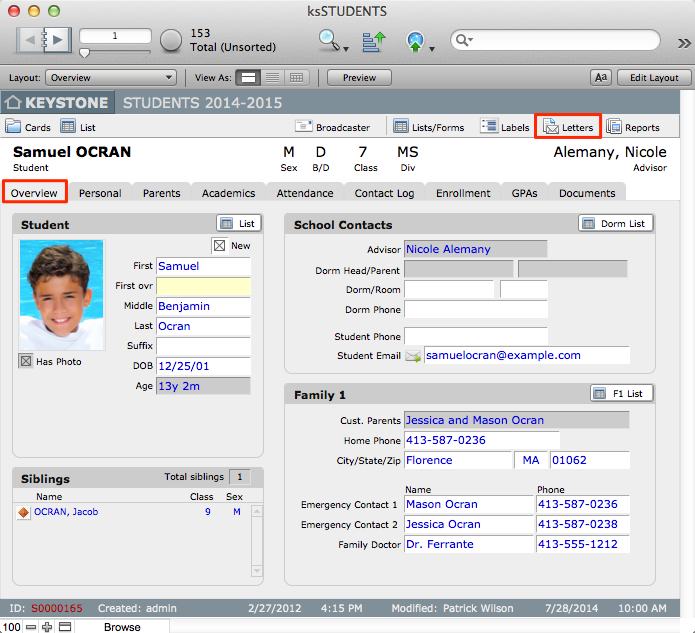
The Letters Org screen will appear.
- Click the button for the letter you wish to print.
- To view the letters as they will print, enter Preview mode. In Preview mode, text and objects will appear as they will when printed.
- If you are printing letters for more than one record, use the Book to scroll through the letters to verify that address and salutation information is correct.
- To print the letters for the found set, select Print from the FMP File menu.
- To continue, return to Browse mode.