Changing the Marking Period to Display in TAM
- The Attendance Marking Period will be changed as soon as the previous marking period ends.
- The Grading Marking Period does not get changed until the entry of marks and comments is complete.
This is so that attendance can be taken in the new MP while marks are being input for the previous MP.
The TAM administrator will change the Term settings by Division when appropriate. When you change the term in TAM Preferences for Attendance and Grading new rosters will populate for attendance entry and for grade/comment entry.
Once a marking period has ended and your deadline for faculty to enter/edit/proof marks and comments has passed, you are ready to prepare your Grades and Comments Reports (Report Cards).
First, change the Marking Period setting so that faculty can no longer make changes to marks and comments for the MP just ended.
Change the Marking Period in TAM
- In Central Nav > Teacher Access Module, select Preferences.
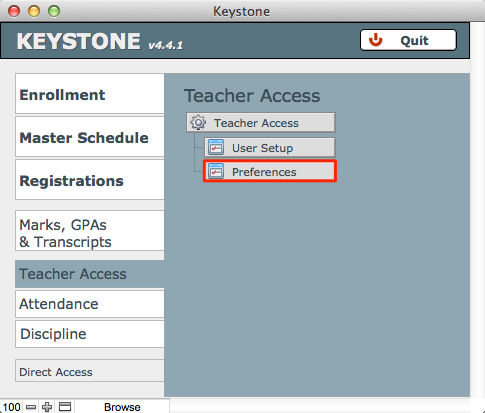
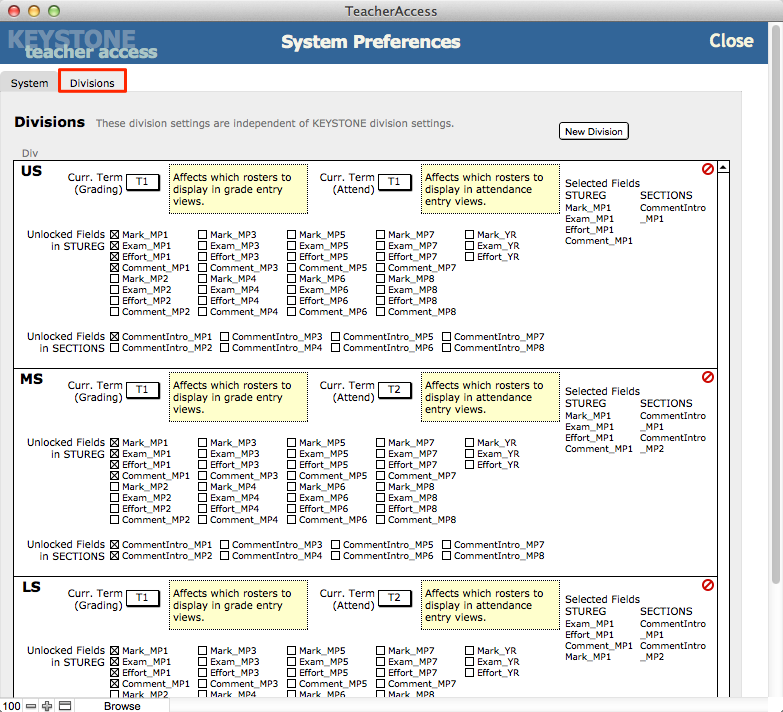
- Navigate to the Divisions tab to change the Marking Period. You will change, for each division, as appropriate:
- Curr. Term (Attend)
- Curr. Term (Grading)
- The checkboxes to lock/unlock fields in STUREG and also SECTIONS.
Review Marks and Comments
Comments for a Section are entered in two parts:
- Within each Section is an Introductory Comment entered by the teacher in TAM. This comment appears on each report, for every student registered in the Section.
- Within each STUDENTREG record is a Narrative Comment, which is entered by the teacher in TAM and speaks directly about the individual student.
These two comments are combined with the marks earned by the student on the Report Card.
There are many useful ways of reviewing marks and comments. We recommend that you add Reviewers as Shadow Teachers to sections.
In addition, the Registrar will find it helpful to Find a set of records that should have marks and don’t.
The following workflow is just one approach to reviewing marks and comments.
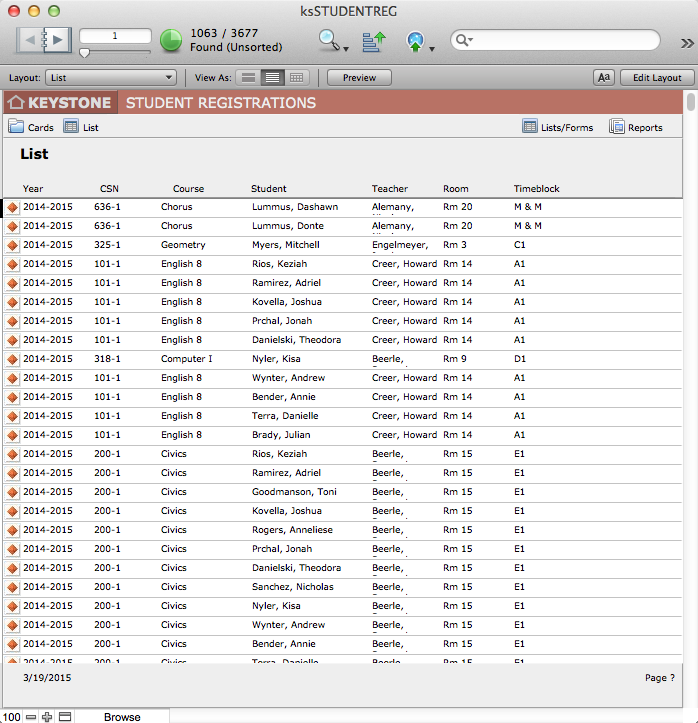
To review Marks and Comments, begin in Student Marks.
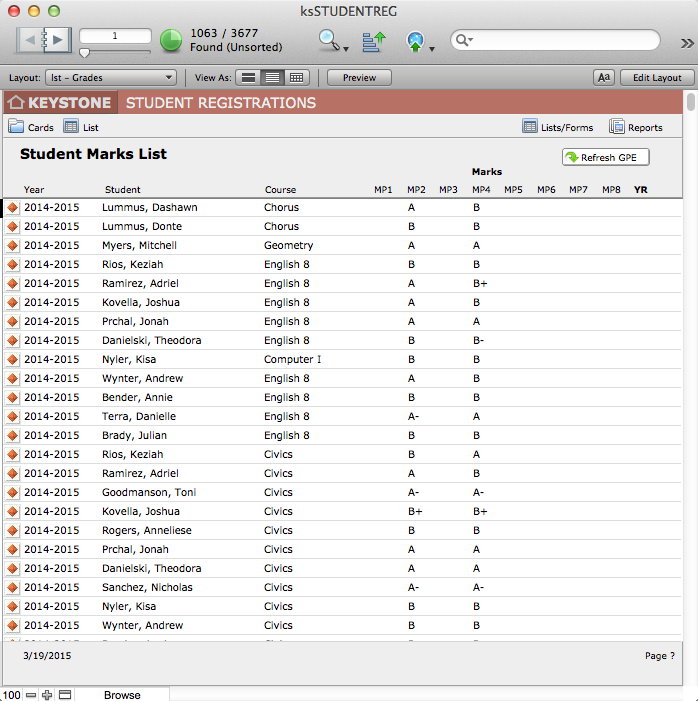
- From Central Nav > Marks, GPA’s & Transcripts, select Student Marks from the Marks & Comments heading.

- The Student Marks List will open. This list reflects the marks given by teachers, who have entered them in the TAM interface. Marks entered by teachers in TAM are stored in ksSTUDENTREG.
- In the Student Marks List, perform a Find for the AY (or any other found set that will be useful).
- You can sort your found set list using the FMP Scripts menu.

Reviewing Comments
- Click on the orange diamond at the left end of a record, to navigate into the card view for that particular student.
- Click on the Comments tab, and the sub-tab for the marking period you wish to see.
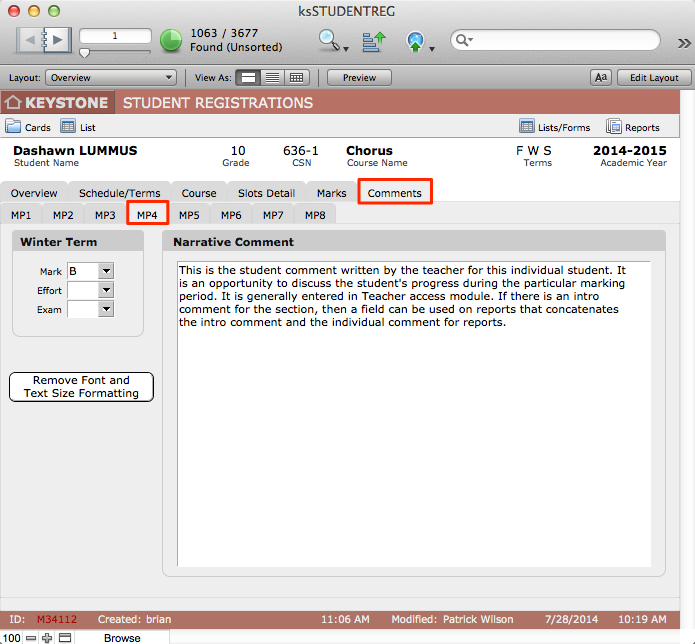
Here you can review or edit Marks and Comments. Flip through the book to see this same tab view for every record in your found set.
Removing Text Formatting
You should always remove text formatting added by teachers in TAM.
- Click the button Remove Font and Text Size Formatting. A dialog will pop up, asking if you wish to remove formatting from just this one record or the entire found set.
- This action will allow bold and italic text, and remove all other formatting.
Reviewing Marks
- Get the found set you wish to review.
- From Student Marks List, sorted as you wish, click on Lists/Forms.
- On the Lists/Forms Org screen, select the MP you wish to review. The Student Marks for the selected Marking Period will open.
- In this view, you can review marks and credits for each student in your found set.
Reviewing Layout
- Always review your report layouts brefore printing to ensure proper format, and that you have the proper report for your needs.
Printing Grades and Comments Reports
When everything is correct, you are ready to print Grades and Comments Report. Note there is also a Report Card on the Reports Org screen; that default report does not display the narrative comments.
- Prepare your found set in Student Registrations.
- Click Reports to enter the Reports Org screen.
- Click Grades and Comments report for the appropriate Marking Period. Note the button is green: this signifies that it requires a found set.
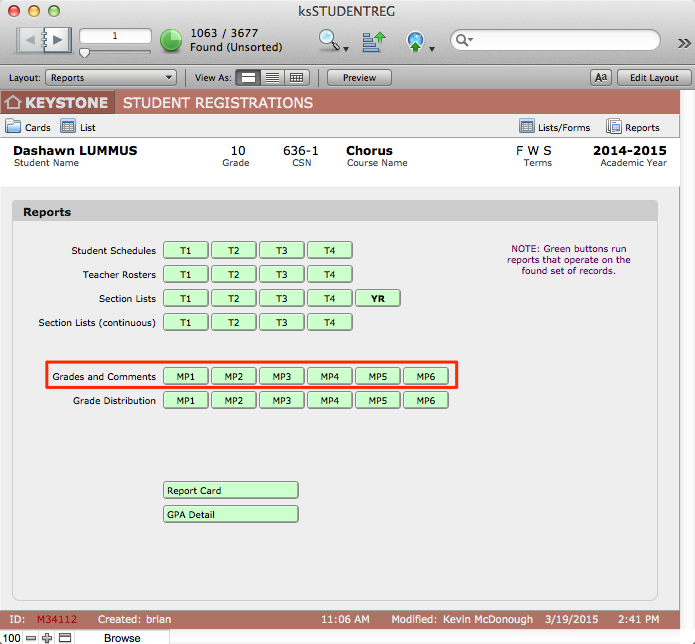
- Click through the book to see each page.
- Print.