The Master Schedule is the collection of ksSECTIONS records for a given academic year.
Set the Scheduling Year
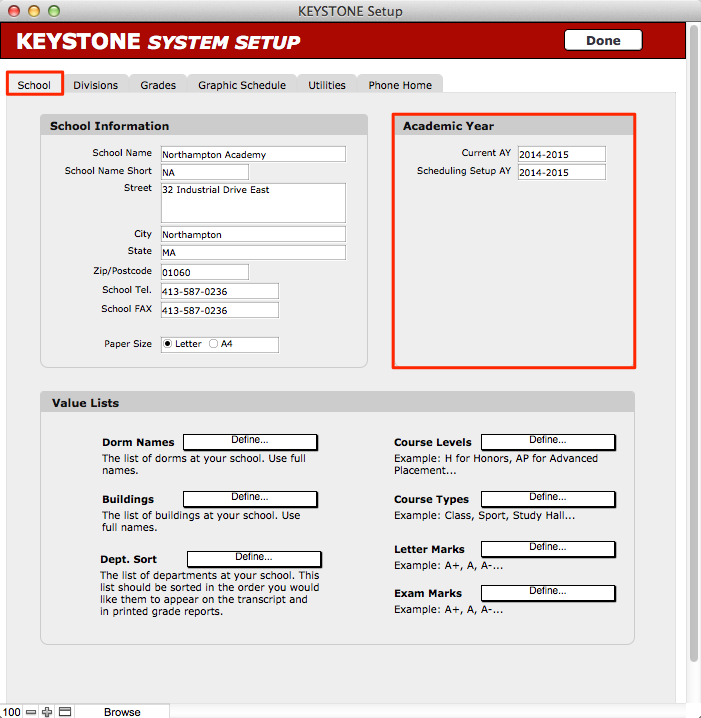
First, set the Scheduling Year—the Academic Year for which you want to create Courses and Sections.
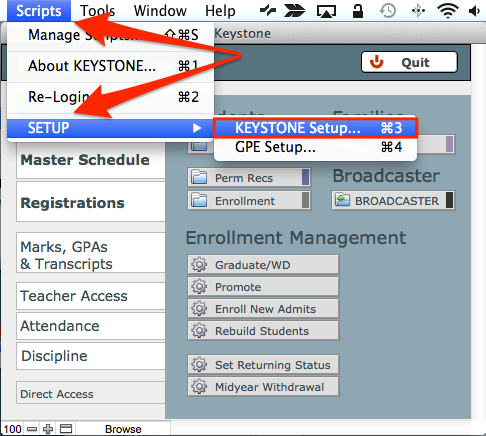
- Go to KEYSTONE Central Navigation screen.
- From the FMP Scripts menu, select SETUP > KEYSTONE Setup…
- Enter the Academic Year for which you want to create a Master Schedule in the field for Scheduling Setup AY.
The ksSECTIONS Record Key
The ksSECTIONS record combines the Academic Year, Course Number, Section Number, and the Division to produce a unique natural key.
Some of the data from the resources are looked up into the ksSECTIONS record for better functionality. If data is changed for a resource after a ksSECTIONS record has been created, users will need to find the appropriate records in ksSECTIONS and and change it there also.
To read more about when to update changed data as you do scheduling and registrations, see the article Data Inheritance: Lookups and Related Data in KEYSTONE.
Creating ksSECTIONS Records
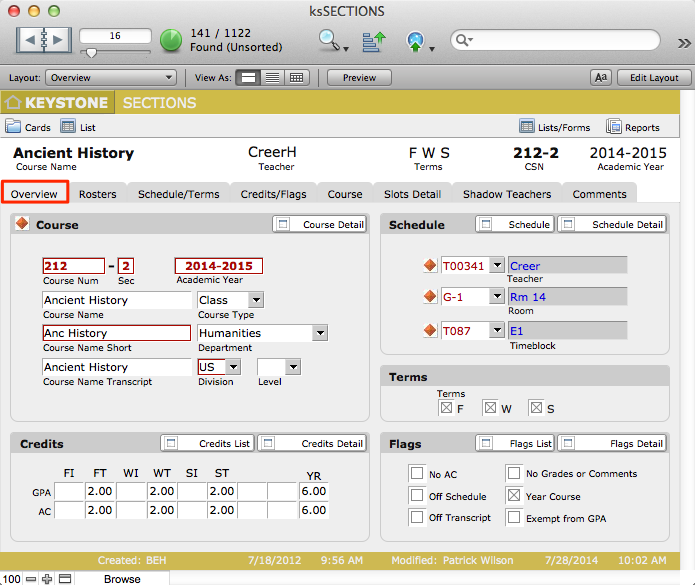
ksSECTIONS records can be created either manually or by import.
Import Method
If the Master Schedule was created with a scheduling program, many times these records can be exported in a format for KEYSTONE to import. Other times the Registrar will schedule the school on paper and input the values into Excel. These too can be imported into KEYSTONE without re-typing.
You can also create Section records for the next year by exporting your own Section records for the current year and then importing them as new records for the next AY.
See the video Scheduling the Next Year.
Manual Method
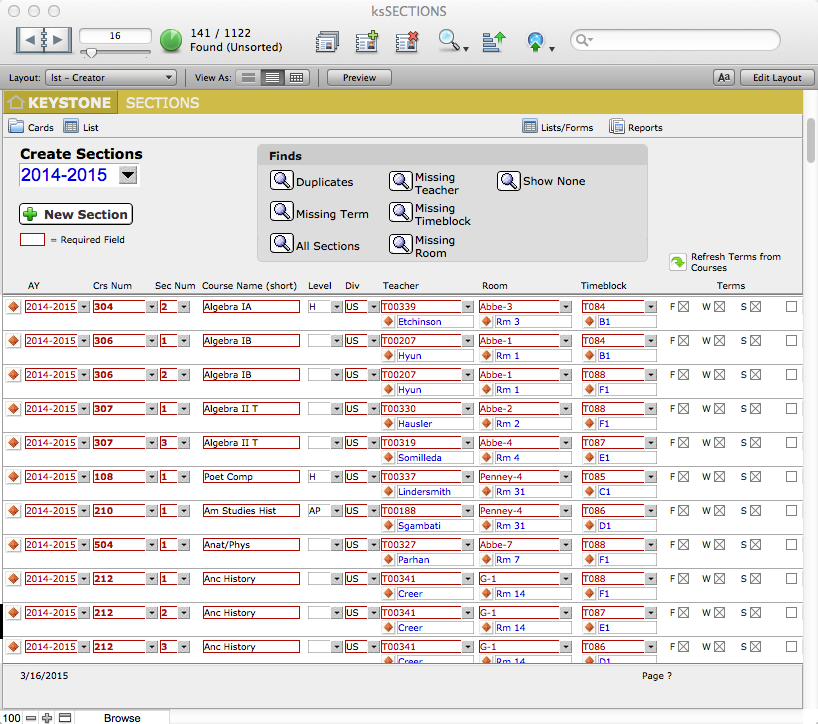
Manual creation of ksSECTIONS records is most efficiently done from the Creator List.
In the Sections Creator List, every crucial field is displayed. You can perform Finds (to see all English courses, for example), and perform Records Replace on a found set to make batch changes. The Flags are inherited from the Course record.
Once your Master Schedule has been created, each Section record can be viewed and edited in the Card view.
- From KEYSTONE Central Navigation > Master Schedule domain, click on the Sections Creator button.
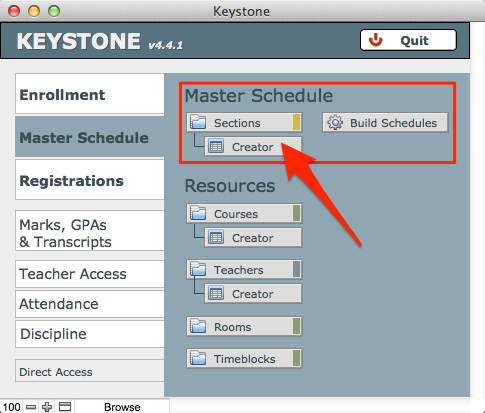
You can also reach the Sections Creator List from within SECTIONS:
- Within SECTIONS, click the Lists/Forms button in the top right task bar.
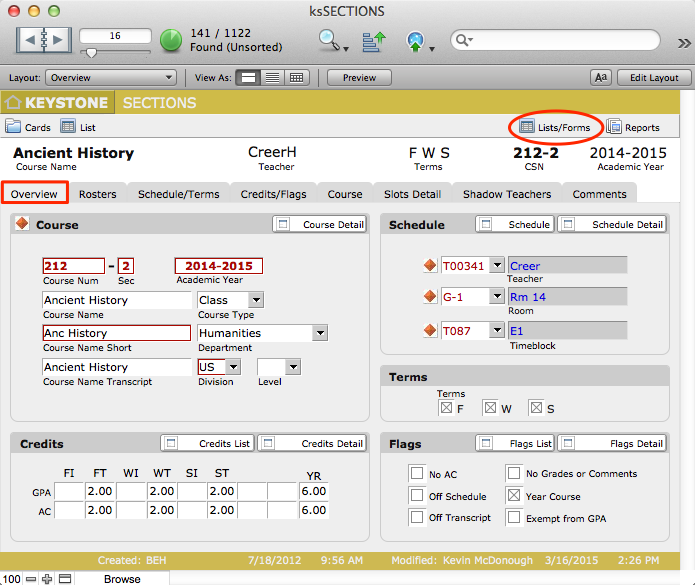
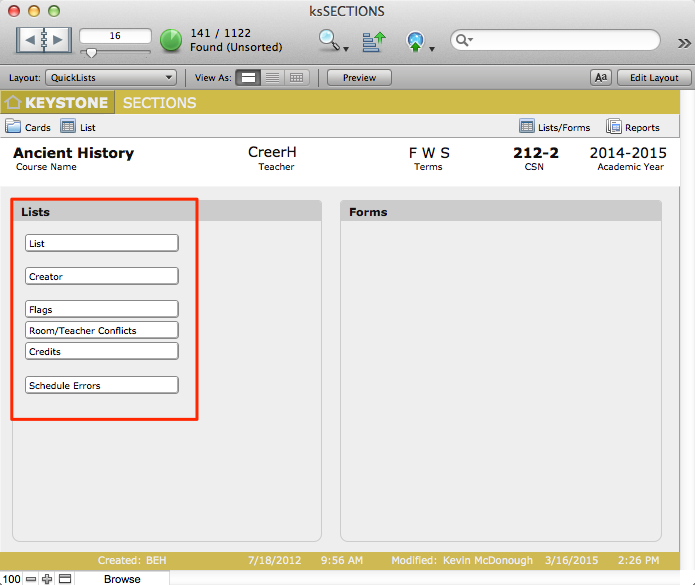
This takes you to the Lists/Forms Organization (Org) screen, where all the lists you need for your workflow in creating sections are located.
- Click on the Creator button.
This navigates you to the Sections Creator List.
- Within the Sections Creator List, create a new record by clicking the New Section button or from the FMP Records menu > select New Record. A new, blank record will appear at the bottom of the list.
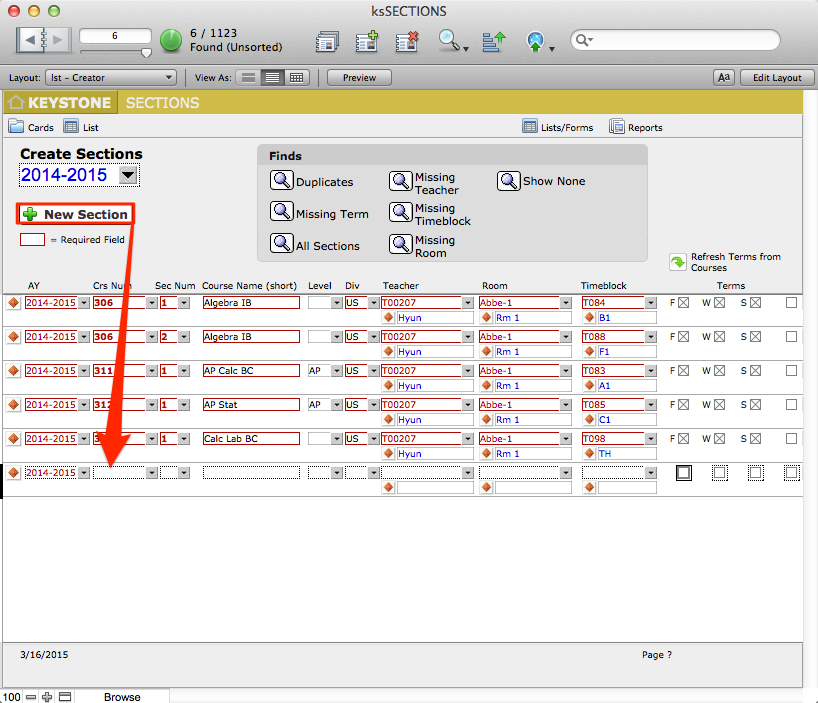
- Work left to right across the fields.
- Notice the Quick Finds buttons at the top of the Creator List.
SECTIONS List/Forms Org Screen
Review Sections as you work, by utilizing the Sections Lists Org screen, where you can see at a glance special workflow screens for:
- Flags List
- Credits List
- Room/Teacher Conflicts List
- Schedule Errors
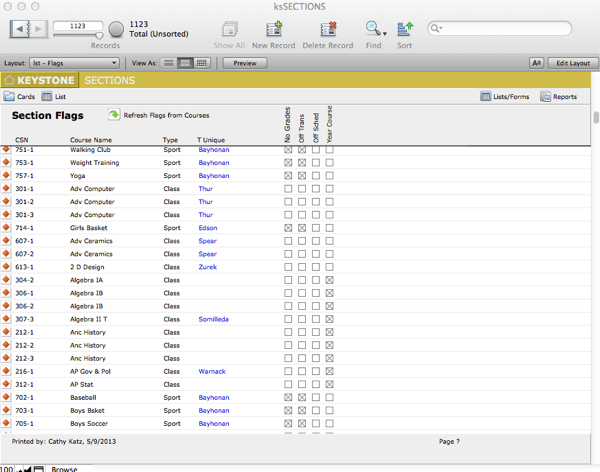
Flags List
Flags are inherited from the Course. Look at the Sections Flags List to see if there are any that need to be changed. Remember that Flags can be changed at the Student Registration level as well.
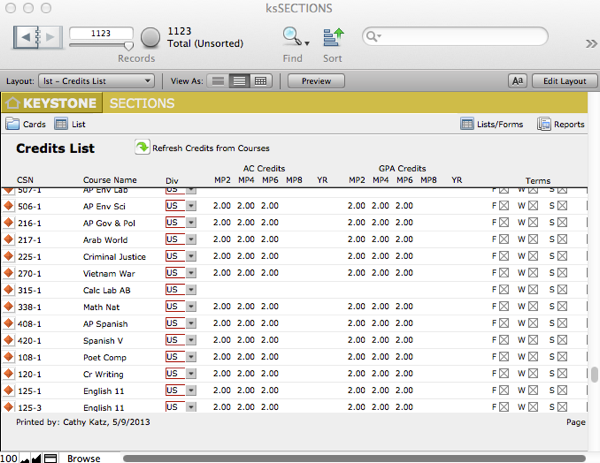
Credits List
Review the Sections Credits List.
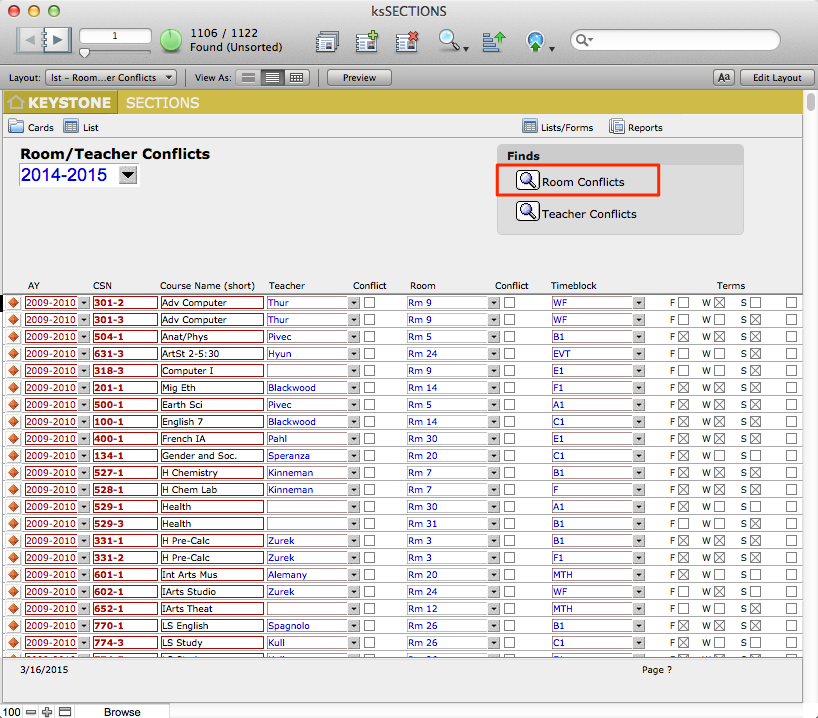
Room/Teacher Conflicts
Use the Quick Find buttons to filter your Room/Teacher Conflicts List.
Schedule Errors
The Sestions List/Forms Org screen has an interface that will present Scheduling Errors and actions you can take to correct the errors.
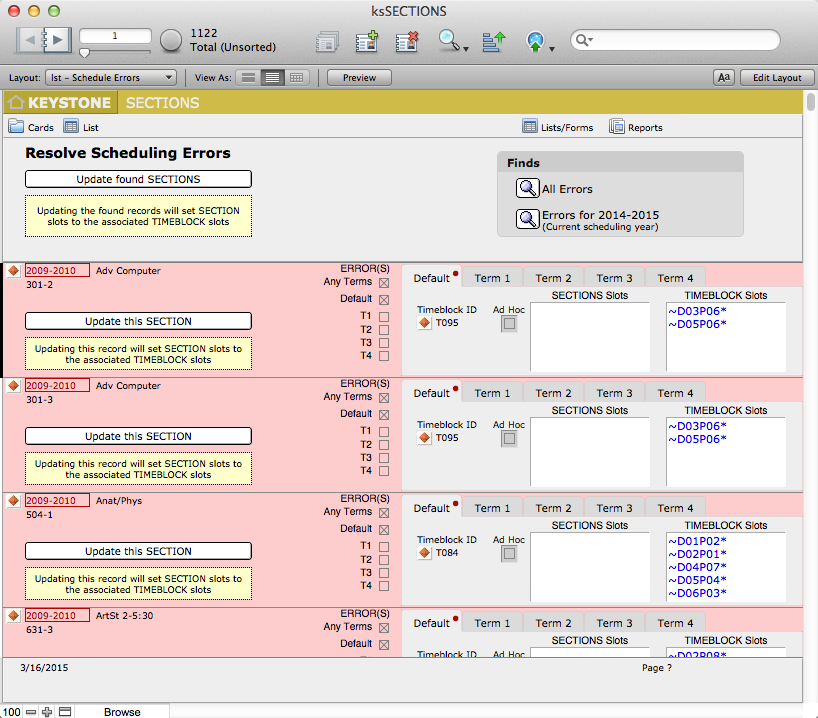
When you work in the Resolve Schedule Errors List, use the tools provided to perform actions, such as:
- Use Quick Find buttons to filter your search for errors.
- Use Update SECTIONS buttons—either the button at the top of the list (Update found SECTIONS), which will act upon the entire found set, or use the button within an individual Section record (Update this SECTION).
You can perform finds on any field in the list, or constrain your found set by using the checkboxes for Terms or Ad Hoc.
A dialog box will appear to ask you to confirm your action and give you the opportunity to cancel your request.

