You can add images anywhere in your message. Your logo and banner are already loaded into the appropriate sections of the templates; these could be altered as you see fit.
Some templates have sections identified as image areas (e.g. TOP IMAGE). These areas are not restricted to images. You can enter text in image areas, as well.
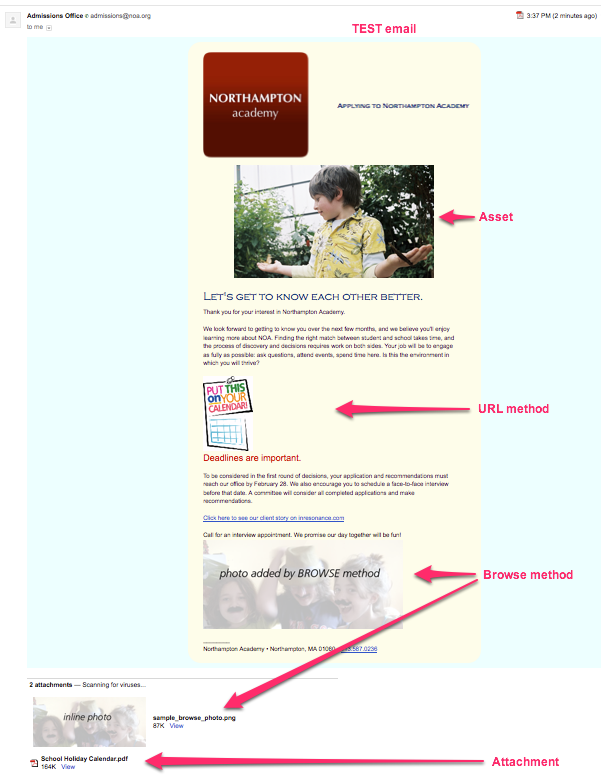
There are three ways to insert or add images to your broadcast:
- Insert an image from the Asset Manager. The Asset Manager generally stores images that support your branding; that is, images such as logos and banners, event identity, and images you will use repeatedly. These images appear inside your message.
- Browse to an image on your computer network and insert it. Images added using Browse do not display in Preview. They will appear when you send yourself a test email.NOTE: Best Practice is to upload every image you will use in any broadcast, as only images in the Asset Manager will be displayed in Preview mode.
- Enter the url of an image.
Sizing Your Image
Your image should be sized before you insert it into your broadcast. See the page on Image Asset Dimensions for more detail.
Inserting an Image
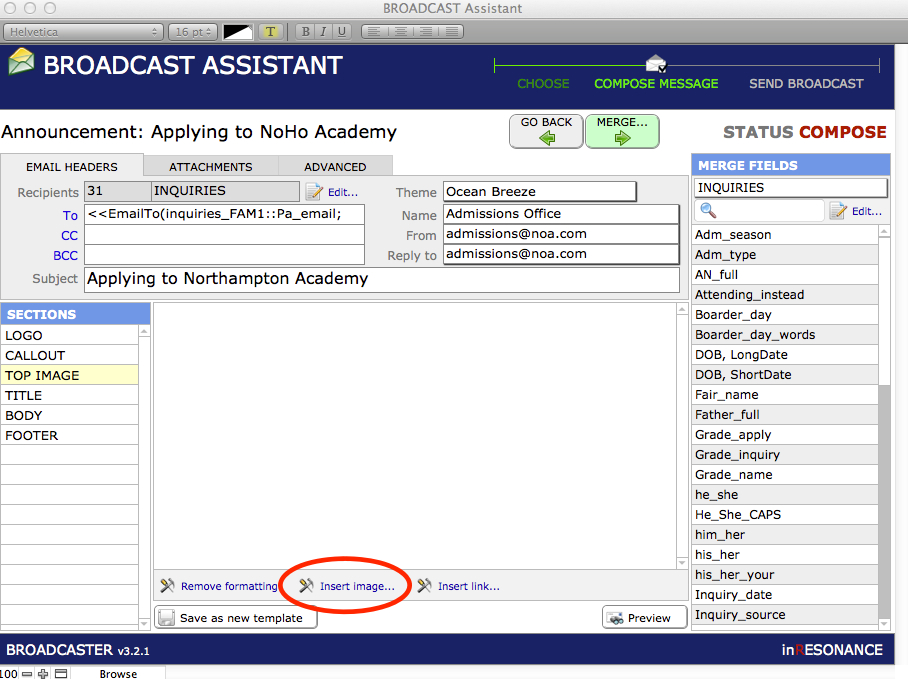
- With the cursor at the place in the message where you want to place an image, click on the Insert Image button at the bottom of the editing window.
- Select the appropriate tab for the method you wish to use to navigate to your chosen image.
Insert Asset
- The Insert Image window opens to a list of assets that have been loaded into the Asset Manager.
- Select the asset image you want to use. A preview of the image will appear in the viewer.
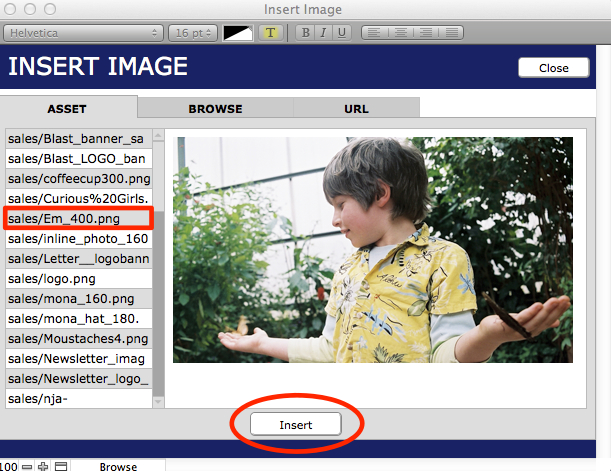
- Click Insert.
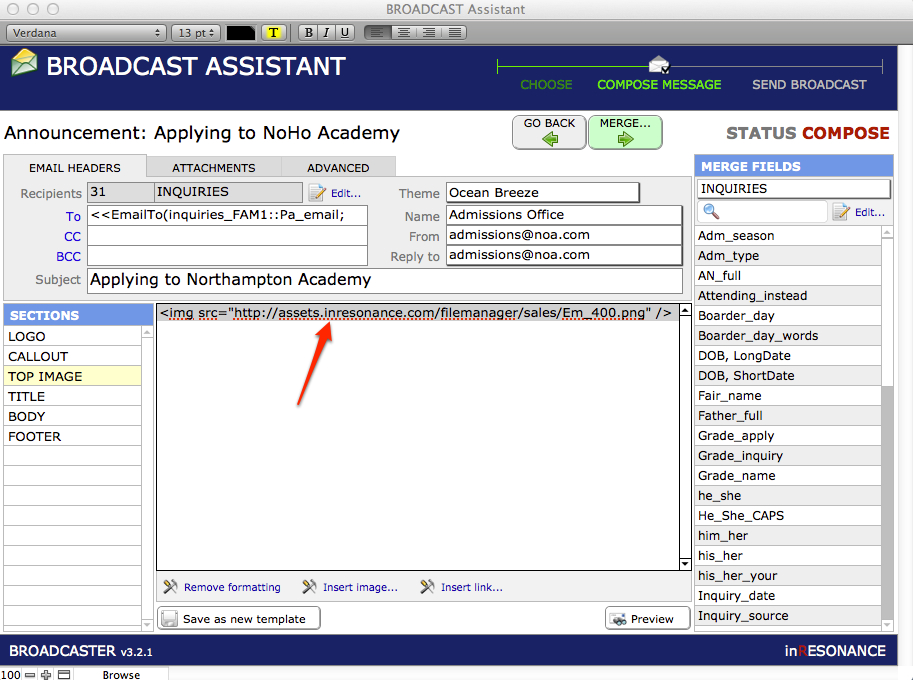
- The window will close and return you to your message. Note that HTML text has been entered at your insertion point.
- Preview your broadcast.

Browse for an Image
- In the Insert Image window, navigate to the Browse tab.
- Navigate through your computer network to the image file you wish to insert.
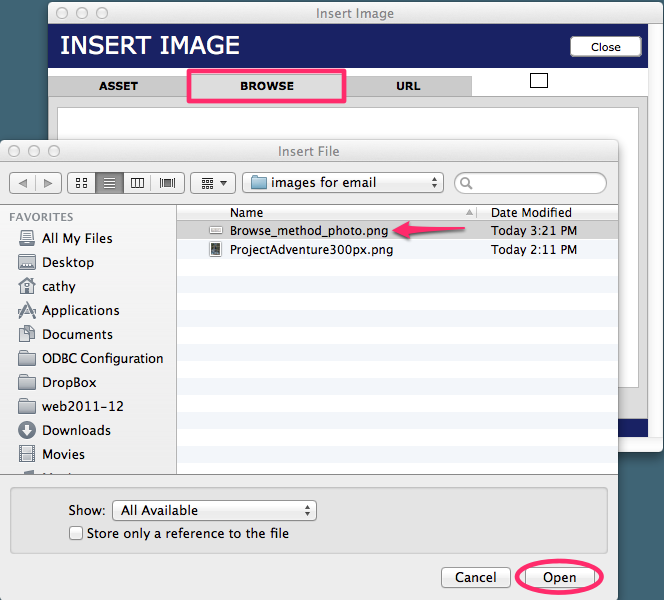
- Select the image and click Open.
- Accepted formats are jpg, png, gif.
- The image you selected will appear in the viewer.
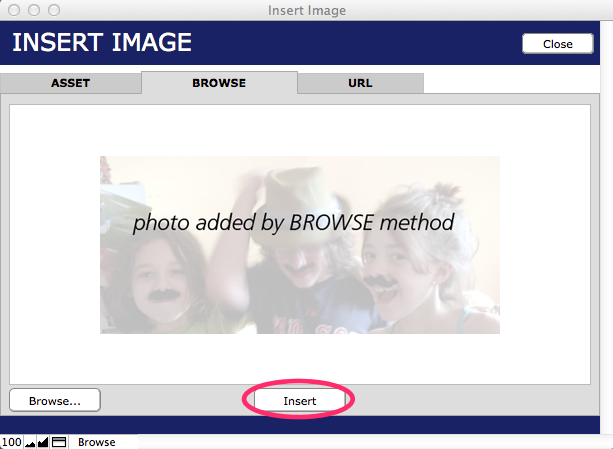
- Click Insert.
- The window will close and return you to your message. Note that HTML text has been entered at the insertion point. You may cut and paste the HTML code to move the image to a different location.
- If you Preview, the image will not be visible, but you will see a reference to the link. The only way to see an image in Preview mode is to upload it into, then insert it from the Asset Manager.
- The Browsed image will display in the individul messages of your broadcast. To see it, merge the broadcast and send yourself a test message to see what recipients will see.
URL
- In the Insert Image window, navigate to the URL tab.
- In another window, in your web browser, navigate to the image you want to use, and control+click (Mac) or right+click (PC) on the image. Use the menu that pops up to Copy image location. Note the image you select should be the appropriate size before you take the link.
- Return to the BC3 Insert Image window and paste the url for the image you want to insert.
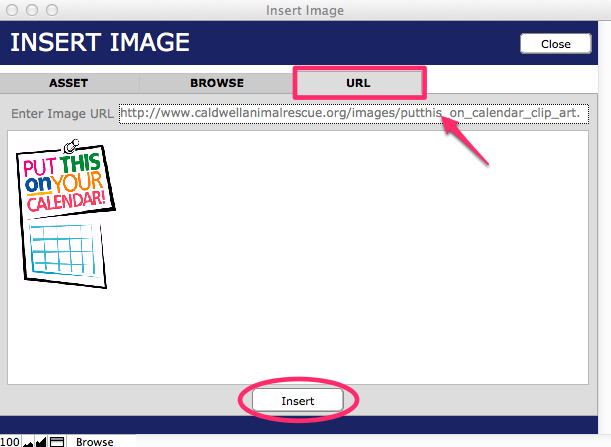
- Click into the viewer to see your image.
- Click Insert.
- The window will close and return you to your message. Note that HTML text has been entered at your insertion point.
- Preview.