The GWS web page is set up by the administrator in GWS Preferences.
Navigating to GWS Preferences
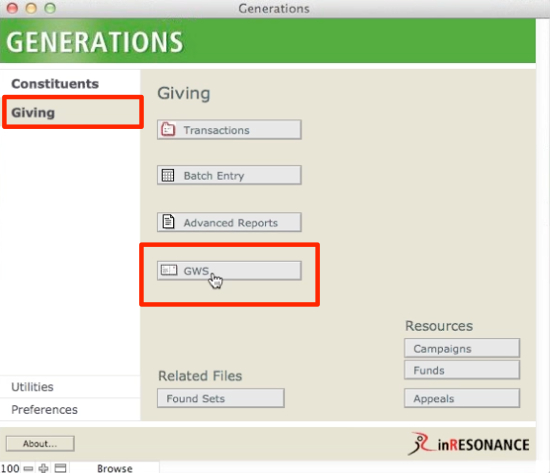
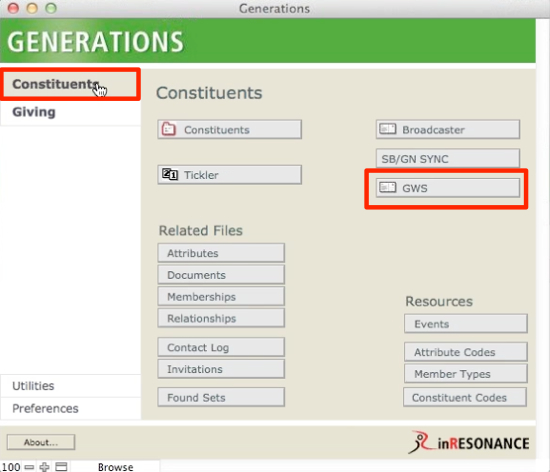
Upon implementation, a navigation button to GWS will be added in the GENERATIONS central navigation window, on both the Giving and Constituents tabs.
- Click the GWS button to enter the administration side of GWS.
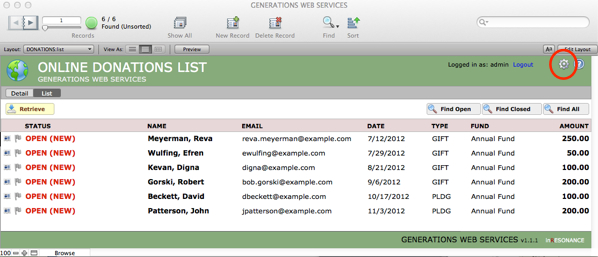
- From within GWS, click the gear icon in the top right status bar to enter GWS Preferences.
GWS Preferences Setup Tab
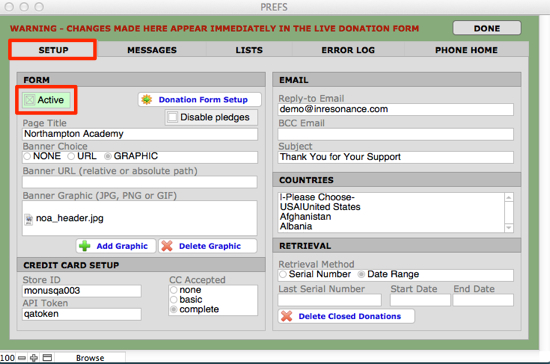
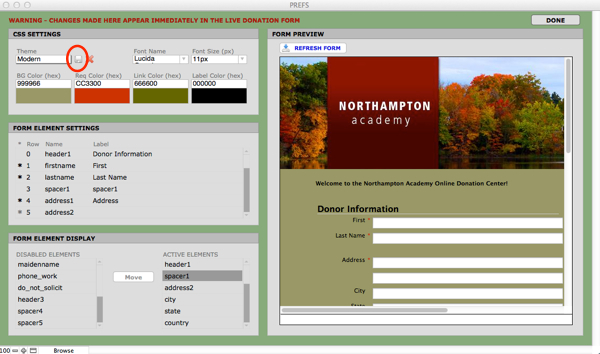
Notice that changes made in GWS Preferences appear immediately in the live donation form.
Active Checkbox in GWS
To make the form inactive while you work, navigate to the Setup tab and deselect the Active checkbox in the Form area. Obviously, if your form is not active, any donor coming to the site will not be able to make a gift.
Disable Pledges
Within the Form area, check the Disable Pledges checkbox if you do not want donors to be able to make a pledge online. If this checkbox is checked, the only option for donors will be to make an online gift.
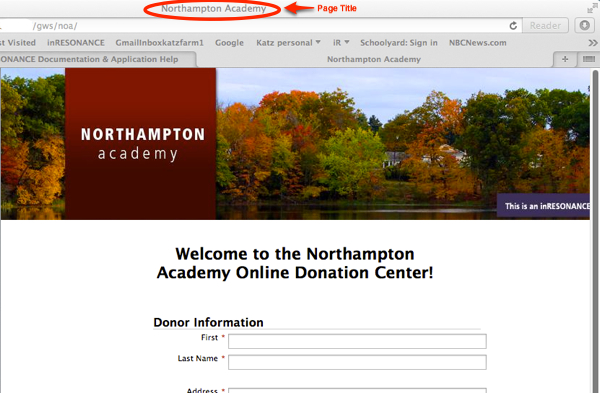
Page Title
This is the text that will show in the frame of the online donations window.
Banner Choice
For the banner artwork that appears at the top of your form, you have the option of uploading a graphic (jpg, png, or gif), or using a reference to a url. The benefit of using a url reference (to a graphic used elsewhere on your website, for example) is that if the banner used elsewhere is ever changed, your banner will also be updated—as long as the new graphic has exactly the same name as the previous version.
To add or delete a graphic image, use the buttons in the Forms area.
Credit Card Setup
The information in this area will be given you by your credit card Merchant Service Provider.
Email Setup
When an online donation is made, the donor will receive an email acknowledging the gift or pledge. If the donor then sends a reply, the Reply-to Email address is where that email will be sent.
The BCC Email address is the destination for a blind copy (the recipient of the original email will not be aware that this email has been sent to another destination) of the email that goes out to the donor. This is a backup measure; if a donor claims they did not receive the email, you would have a bcc copy to forward to the donor. Use a special email box set up for this purpose.
Subject is the subject line of the acknowledgment email.
Countries
This will be set up by your implementor.
Retrieval
This feature will assist iR in helping you troubleshoot problems.
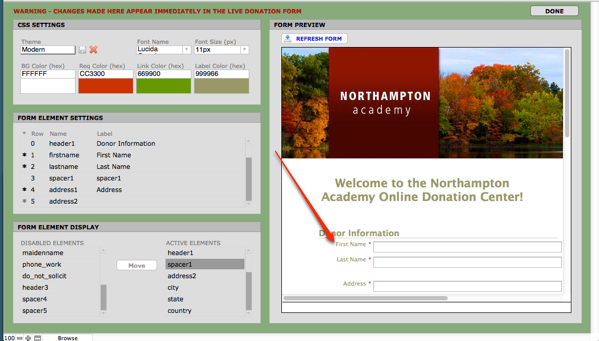
Donation Form Setup
In the Form section of the Setup tab, click the button Donation Form Setup to open a window where you can:
Adjust the CSS
Make adjustments to the CSS—Cascading Style Sheets, a style sheet language that defines colors and fonts on your form. Make note of the hex code of the existing color before you experiment with something different, so you can restore the original color if you wish. You can enter a hex code or try a different color by clicking on the color itself.
Click on a color to open a color picker. If you select a new color, you will see the effect in the preview window.
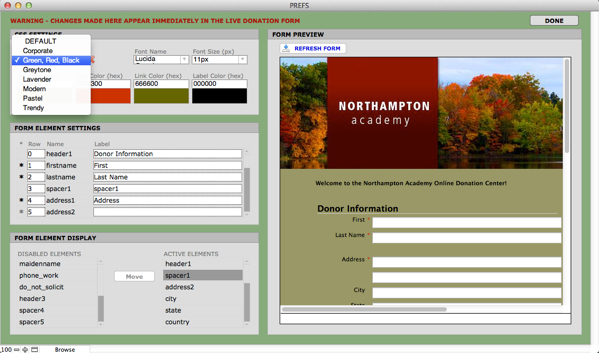
Saving a New Theme
If you develop a combination of colors that you like, you can save it as a Theme, and it will appear in the Themes drop-down menu within the CSS Settings area:
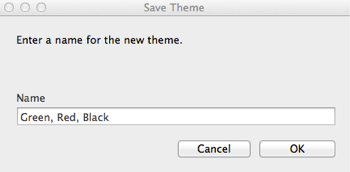
- When your new color combination is ready, click on the disk icon next to the Themes drop-down menu.
- A dialog box will appear, asking you to name your theme. A short, descriptive name will display well in the menu.
- Now you can compare different themes easily, by selecting different themes from the drop-down menu.
Edit Labels
Edit labels in the Form Element Settings area:
- Click into the label you want to edit, and make the change.NOTE: Change the text of the label, but do not change the purpose of a field.
- Click Refresh Form to see your change. Remember that this will change the live form on the web site.

Change the Order of Elements
You can change the order of fields on your form by changing the Row number in Form Element Settings. For instance, move a Spacer row up or down by entering a different Row number. All row numbers will adjust appropriately.
Set Required Items
Required fields must be filled in before the donor can submit their online form. A field with a black asterisk is already set as Required.
- Click on the gray asterisk next to a field to make it required. The asterisk will change to red.NOTE: Be careful to set as Required only those fields that all of your donors can complete. For instance, Maiden Name would not be a field all people could complete, so it should not be set as required.
You will see that if you make changes to your form, the changes will display to you in the Form Preview window. Make adjustments until you are satisfied with the result.
- Click Refresh Form to publish your changes to the web site.

Set Items to Display on your Form
In Form Element Display, you can review all fields that could be included on your form, and make an element Active (on the form) or Disabled (not on the form).
To Add an Element to Your Form
- Find the item you wish to add to the form in Form Element Display, the list on the left of Disabled Elements.
- Click on the element.
- Click Move to move the element into the list of Active Elements.
- The field you added will appear at the top of the form, in the Review Form window.
- Adjust the placement of the new element by changing the Row number in Form Element Settings area, from “0” to the desired row placement. Your changes will appear in the Review Form window as you make changes.
- When the form is as you want it, click Refresh Form to save your changes to the live form.
To Remove an Element from Your Form
- Find the item you wish to remove from your form in Form Element Display, the list on the right of Active Elements.
- Click the item to select it, and click Move.
- Your item will be moved into the list of Disabled Elements.
- Examine your form in the Review Form window.
- When the form is as you want it, click Refresh Form to save your changes to the live form.
Exit Donation Form Setup
NOTE: Whenever you click Refresh Form, your changes will immediately be published to the live website.
You can exit this window without making any changes to the live page by clicking Done.
